
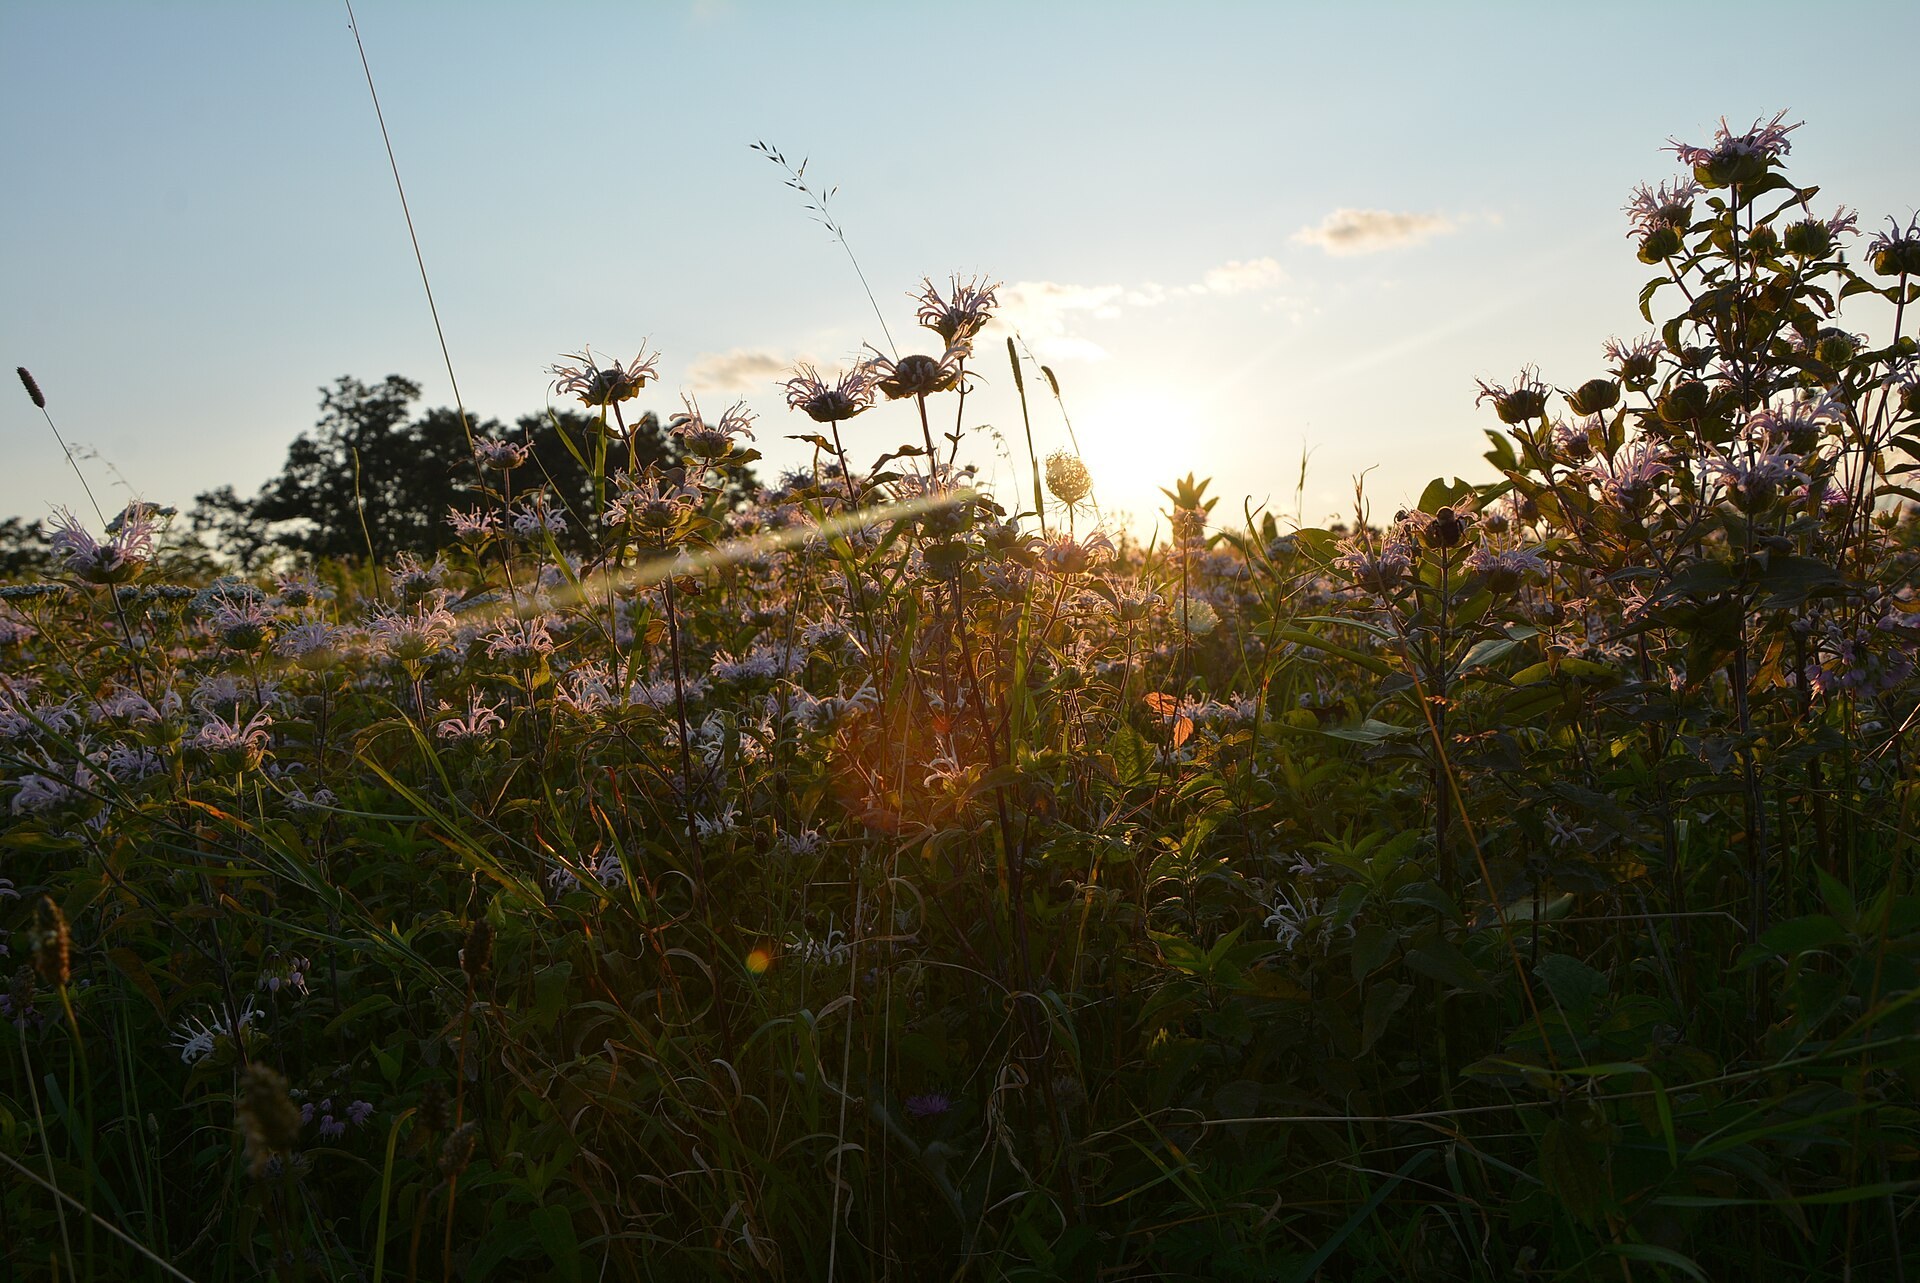
Use trees, rocks, water, and light to build stronger images
Out in nature, you don’t need a studio — the world is your composition tool.
But the outdoors can also feel overwhelming: too many details, no obvious subject, or flat lighting.
This guide will help you use natural elements to compose more powerful and engaging photos — whether you’re shooting landscapes, trails, or adventure moments.
1. Use Foreground to Create Depth
Depth makes a photo feel immersive. One simple way to achieve that is by placing a strong element in the foreground:
- Wildflowers, rocks, logs, or boots
- A puddle with a reflection
- A tree branch leading into the frame
With a wide-angle lens, foreground becomes even more dramatic.
Try: f/8 – focus one-third into the scene – ISO 100
2. Frame with Trees or Rocks
Natural frames guide the viewer’s eye toward your subject while adding balance.
- Tree trunks on both sides
- Overhanging branches
- Rock walls or cliff edges
This works especially well in dense forests, canyons, or archways.
Tip: Framing in Nature – Outdoor Photographer Magazine
3. Look for Leading Lines
Leading lines help draw the viewer into the photo. In nature, they’re everywhere:
- Trails and rivers
- Fallen logs
- Shadows or ridgelines
- Fence lines, ski tracks, animal paths
Use diagonal or curved lines to add rhythm and flow.
4. Watch the Light
Natural light changes constantly. When shooting outside, pay attention to:
- The direction of light (side light = depth, backlight = mood)
- Golden hour warmth vs mid-day harshness
- Shadows and how they sculpt the scene
Plan your shoot around the sun using apps like PhotoPills or The Photographer’s Ephemeris.
5. Include People (for Scale & Emotion)
Nature is huge. One person in your frame can instantly:
- Show scale (especially in wide landscapes)
- Add a story or human connection
- Create a point of focus
Pro tip: Have your subject wear bright colors or a backpack to stand out.
Inspiration: LetsGoPlayOutside photo stories
Quick Composition Tips Checklist
Use the rule of thirds
Find foreground, midground, background
Keep your horizon straight
Avoid clutter — simplify the frame
Move your feet before you move your zoom
Final Thought
Great outdoor photos aren’t just about gear — they’re about how you see and arrange the scene.
Nature gives you the ingredients. Composition is how you turn them into art.
A field routine for building the frame
Composition gets easier when you follow the same order every time. Pick one subject, then walk around it for two minutes before raising the camera. Look for a foreground element within two or three metres, a midground that connects it to the subject, and a background that stays simple. Only then choose your focal length: a 16-35 mm range exaggerates the foreground, while 50-85 mm compresses ridgelines and trees into tighter layers.
For a layered landscape, typical settings are f/8-f/11, ISO 100-200 and whatever shutter speed the meter gives you, often 1/60-1/250 s in daylight. Focus roughly one third of the way into the scene, or on the foreground element if it sits within a metre and you want it razor sharp. When light drops below 1/60 s at these apertures, raise ISO to 400-800 or set the camera on a rock and use the two-second timer.
Add a person only after the natural frame is set. Ask them to walk into the brightest part of the scene, face sideways, and stop where the leading line ends. A red or yellow jacket at 1/250 s or faster keeps them sharp while they move.
Mistakes to fix and what to check on the back of the camera
The most common error is a foreground with no relationship to the subject: a random rock that blocks the trail instead of pointing at it. Move a step left or right until the line clearly leads somewhere. The second error is a tilted horizon; turn on the electronic level or the grid overlay and correct before shooting, because straightening in editing costs you edge pixels. The third is a bright sky that pulls the eye to the top corner; recompose with less sky, or wait for a cloud to soften it.
After each frame, zoom to 100 percent on the foreground and on the subject to confirm both are sharp. Check the histogram: a spike against the right wall means clipped highlights, so dial in -0.3 to -1 stop of exposure compensation. Enable highlight warnings so blinking areas show where detail is gone.
- Exercise: pick one tree or boulder and make ten different compositions of it in fifteen minutes, changing only your position and height, never the zoom.
- Review: sort the ten frames by how quickly your eye finds the subject; the fastest three tell you which structure works for you.
In Lightroom, support the composition rather than rescuing it. Pull Highlights to -40 to -70 to recover sky, lift Shadows to +20 to +40 so the foreground reads, then set Whites and Blacks while holding Alt until only a few pixels clip. Add Dehaze at +5 to +15 for distant layers and Texture at +10 on rocks and bark. A linear gradient mask on the sky with Exposure at -0.3 and a radial mask on the subject at +0.2 will strengthen the path you built in the field.