
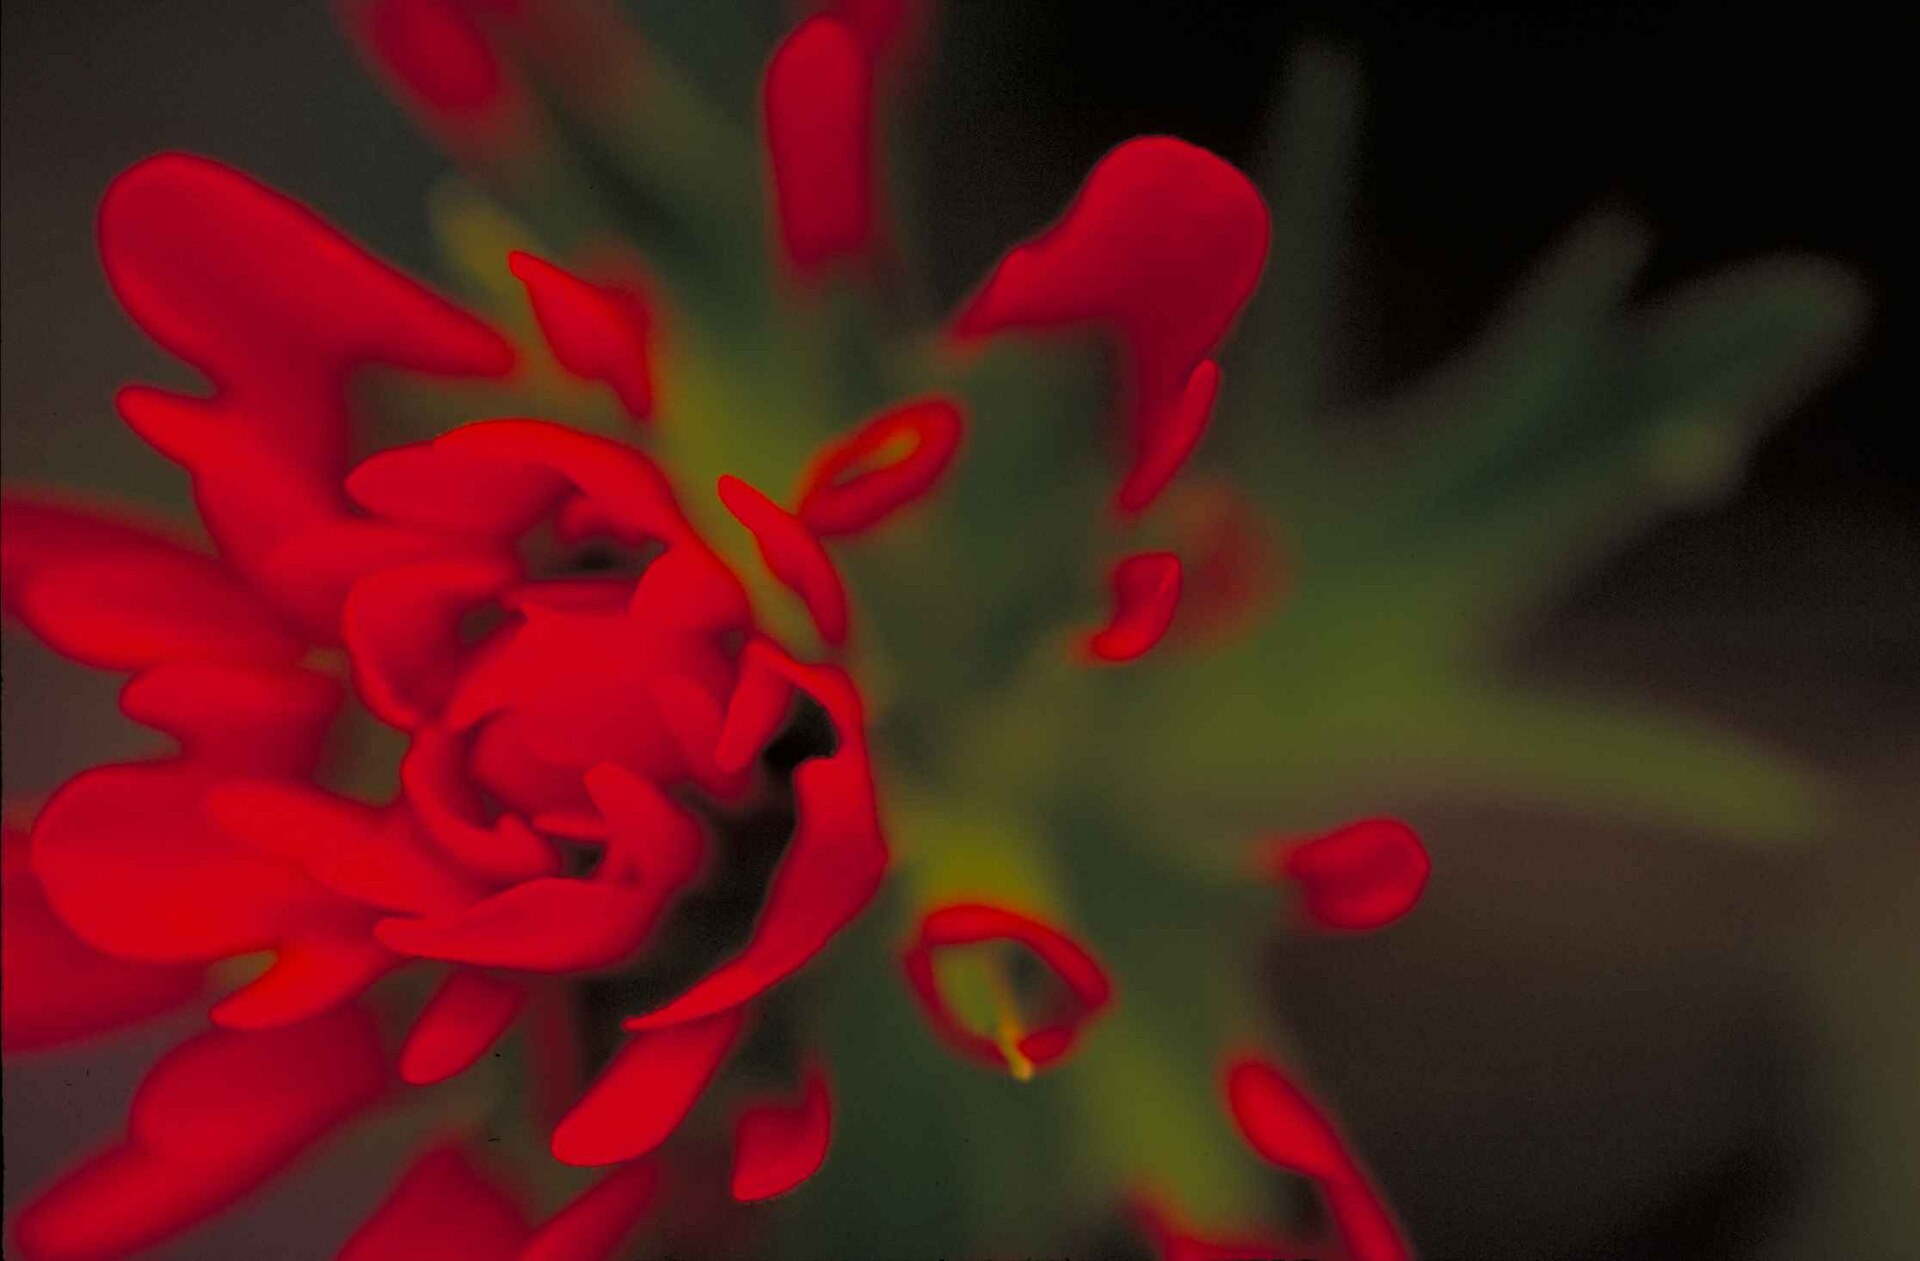
Blur the background or keep it all sharp — your choice, your story
Whether you’re shooting a portrait with a creamy background or a sweeping landscape where everything is in focus, you’re making decisions about depth of field.
This article explains how depth of field works, how to control it, and how to use it intentionally in your outdoor photography.
What Is Depth of Field?
Depth of field (DoF) is the distance between the nearest and farthest objects that appear sharp in your photo.
- Shallow DoF = only a small part of the image is in focus
- Deep DoF = most or all of the image appears sharp
Think of it as choosing how much context vs focus you want in your shot.
3 Main Factors That Affect Depth of Field
| Factor | Effect |
|---|---|
| Aperture (f-stop) | Lower f-number = shallower DoF (e.g. f/2.8) |
| Distance to subject | Closer = shallower DoF |
| Focal length | Longer lenses compress and blur more (e.g. 85mm vs 24mm) |
Use this DoF calculator – PhotoPills
Practical Examples
| Scene | Settings | Result |
|---|---|---|
| Portrait in forest | f/2.8 – 1/400s – 50mm | Sharp face, blurred background |
| Landscape at sunset | f/11 – 1/100s – 24mm | Foreground to mountains in focus |
| Flower close-up | f/2.0 – 1/1000s – 100mm | Only one petal sharp, dreamy feel |
Creative Use of Depth of Field
- Isolate your subject with shallow DoF in busy environments
- Use deep DoF for storytelling landscapes (foreground + background)
- Try medium DoF (f/4 to f/5.6) for natural-looking context + subject clarity
You’re not just focusing — you’re deciding what should matter visually.
Pro Tips
- Use live view + zoom to confirm sharpness
- For landscapes: focus 1/3 into the scene (hyperfocal trick)
- Don’t always shoot wide open — try f/4 instead of f/1.8 for more control
- Use focus stacking for ultra-sharp landscape shots (advanced)
Practice Ideas
- Photograph the same subject at f/2.8, f/5.6, f/11 — compare the background
- Shoot a trail with person walking away: focus on feet vs mid-trail vs background
- Place a subject near flowers or leaves for layered focus effects
Related: Let’s Go Play Outside – Forest photo inspiration
Final Thought
Mastering depth of field is about control — not just blur.
Once you understand it, you can guide the viewer’s attention exactly where you want.
Finding the hyperfocal distance without an app
The one-third rule works, but a more reliable field method needs no calculator. Set the lens to f/8 or f/11, then focus on a point roughly twice as far away as the closest object you want sharp. If a boulder sits 2 meters (6 feet) in front of you, focus at about 4 meters. At f/8-f/11 on a wide lens (16-35 mm full frame, 10-24 mm APS-C), the boulder sits just inside the sharp zone while the distant ridge stays acceptably crisp. On a tripod in morning light, that frame is usually 1/30 s to 1/125 s at ISO 100-200; handheld, raise the ISO to 400 rather than opening the aperture.
Verify on the rear screen every time. Use playback zoom at 100 percent and check three points: the nearest object, the subject, and the farthest detail. If the near rock is soft, move your focus point closer or stop down one step to f/11; if the far ridge is soft, focus a little further away. Manual focus with focus peaking makes this fast, and once found for a given lens and aperture, the distance holds for the rest of the location.
Two common mistakes: focusing on infinity, which wastes half the sharp zone beyond the horizon and leaves the foreground blurry, and stopping down to f/16-f/22 out of caution, which costs more sharpness to diffraction than it gains in depth. Stay at f/8-f/11 and manage distance instead.
Shallow depth of field done properly on the trail
For a hiker portrait or a single wildflower, the goal is a sharp subject on a smooth background, and three habits get you there. First, control the ratio of distances: place the subject close to you and far from the background. A hiker 3 meters away with trees 15 meters behind will separate cleanly at f/2.8-f/4, while the same aperture with trees 2 meters behind will barely blur. Second, use single-point AF on the nearest eye and shoot a burst of three so body sway does not cost you the sharp frame. Third, keep the shutter fast, at least 1/250 s for people and 1/500 s for flowers in wind, and accept ISO 200-800 to get there.
Check the rear screen at 100 percent on the eye, not the face. If the ear is sharper, you focused too far back; if the nose is sharper, too close. Then check the background: bright specks of sky between leaves become hard discs at wide apertures, so shift half a step sideways for a darker, smoother backdrop.
In editing, protect the effect rather than manufacturing it. In Lightroom Mobile, use Masking with Select Subject to add Texture +15 and Clarity +10 to the subject only, and keep Sharpening masked at 70 or more so the blur stays creamy. In Snapseed, Selective with Structure +10 on the eye does the same, and Lens Blur, transition wide and strength low, adds softness when needed.
- Field exercise: photograph a trail marker at f/2.8 from 1, 3 and 6 meters, with the background 2 and then 20 meters behind it, and compare the six frames on a large screen.