
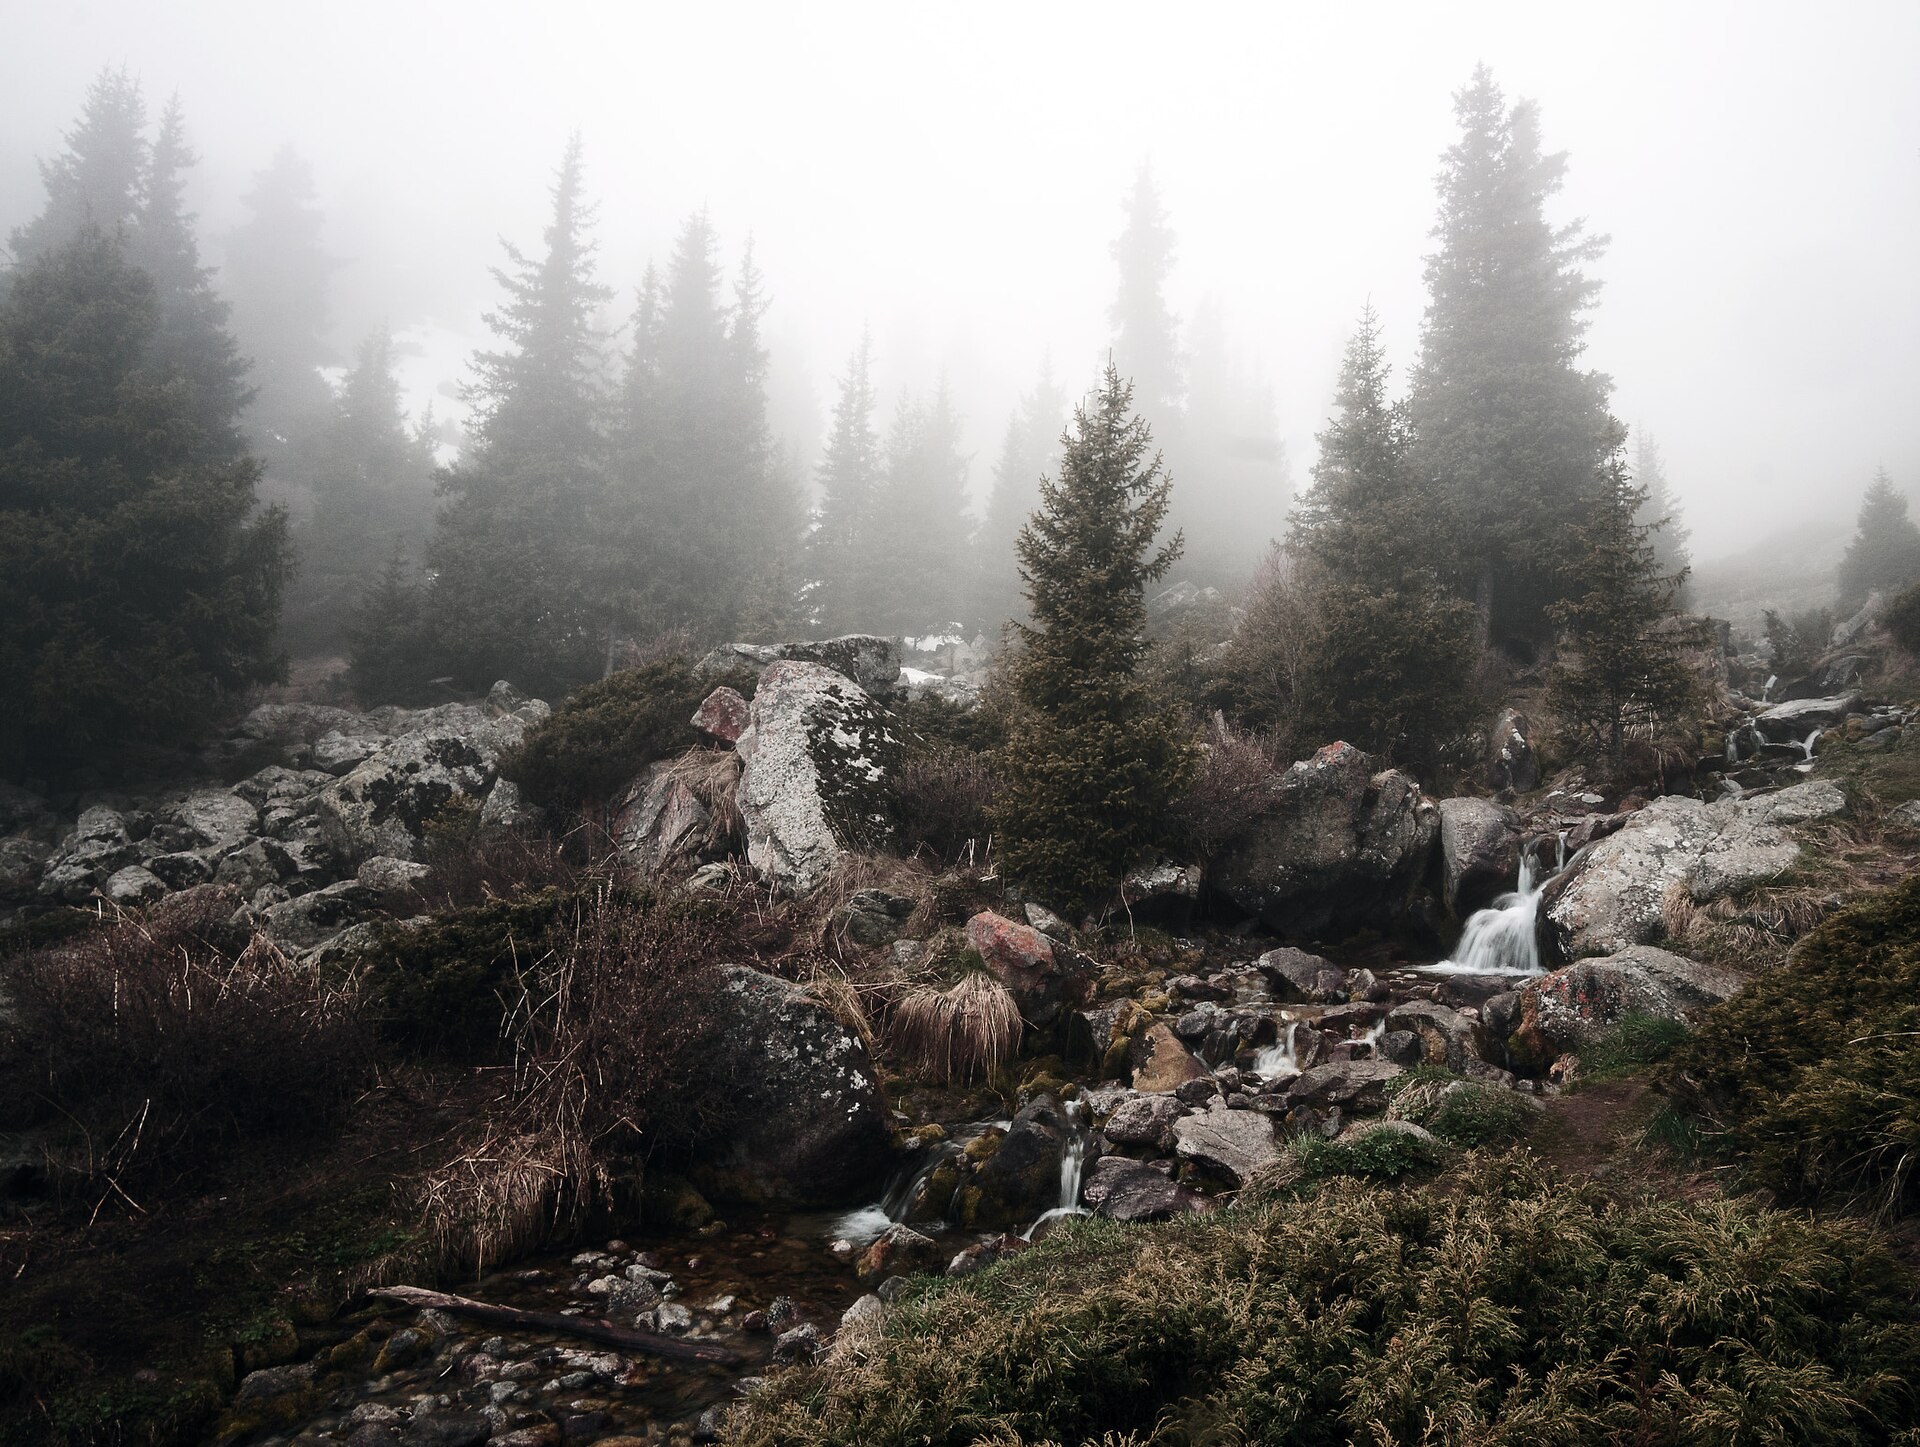
Light, layers, and the art of slowing down
Forests are full of mystery, texture, and quiet magic — but they can also be tricky to photograph.
The light is uneven, the scene often feels messy, and it’s easy to come home with images that feel flat.
Here’s how to capture the mood, depth, and richness of the woods in your outdoor photography.
1. Understand the Light in Forests
Forests often have dappled light, strong contrasts, or low light under the canopy.
- On sunny days, look for rays of light breaking through trees (ideal early morning)
- On cloudy or foggy days, the forest is evenly lit — perfect for soft textures and detail
Tip: Use spot metering to expose for specific areas (like light hitting a tree trunk)
More tips: Shooting Woodland Photography (ePHOTOzine)
2. Suggested Camera Settings
| Scene | Suggested Settings |
|---|---|
| Foggy morning | f/4 – 1/60s – ISO 400 |
| Sun rays through trees | f/8 – 1/125s – ISO 200 |
| Deep forest floor | f/2.8 – 1/100s – ISO 800 |
Use Aperture Priority mode to control depth, and raise ISO if you’re handheld.
3. Find Simplicity in the Chaos
Forests can feel visually busy. Try to simplify the scene by:
- Isolating a single tree or detail
- Using a path or fallen log as a leading line
- Focusing on patterns (bark, ferns, moss)
Try a vertical frame for tall trees, or wide-angle for perspective.
4. Take Advantage of Mist and Atmosphere
Fog and mist in a forest add depth and softness — separating layers of trees and adding visual interest.
If possible:
- Go early in the morning
- Visit after a rainy night
- Watch for cold air meeting warm ground
Mist transforms the ordinary forest into a fairytale.
See examples from outdoor-focused photographers on LGPO
5. Add Human or Natural Scale
Including a person in the frame helps show the grandeur of the woods.
- A hiker with a bright jacket
- A child walking between trees
- Your own shadow or hands reaching for leaves
Use scale to tell a story — not just show the scene.
Final Thought
In the forest, slow down and observe.
Look for light, lines, and layers — and let the trees show you how to compose.
A step-by-step forest session, from the trailhead to the last frame
Before you enter the trees, set the camera up for shade. Switch white balance from Auto to the Shade or Cloudy preset, or dial in 5600-6500 K manually; auto white balance tends to render forests blue and dull, and a fixed value keeps a whole series consistent. Set the autofocus to a single point and the metering to evaluative unless you are chasing one sunlit trunk, where spot metering works better. A circular polarizer, rotated about a quarter turn, removes glare from wet leaves and moss and deepens greens more than any slider can.
Under the canopy, light is scarce, so put the camera on a tripod, or brace it against a trunk, and keep the ISO at 100-400. A typical wide woodland frame is f/8-f/11, 1/15 s to 1/60 s, ISO 200. For a single fern or mushroom, open up to f/4 and move in. Dial in -0.3 to -0.7 of exposure compensation whenever patches of sky or sunlit leaves appear in the frame; forests are far easier to brighten later than to recover from blown highlights. Wait for calm moments between gusts; moving leaves blur at 1/15 s.
After each frame, check three things on the rear screen: the histogram should sit slightly left of center with no spike on the right, the highlight alert should not blink on the sky holes, and playback zoom at 100 percent on the focused trunk should show crisp bark texture. If the bark is soft, the culprit is nearly always shutter speed, not focus.
Editing forest greens without the neon look
Forest files come out flat and green-heavy, and the usual reaction, more saturation, produces the plastic look. Work in this order instead. In Lightroom Mobile, open the Light panel and lift Shadows by +20 to +40, then set Blacks at -10 to -20 so the image keeps depth. Add Dehaze +5 to +15 in the Effects panel to restore the contrast that mist and haze remove. Then in Color Mix, tap the green swatch: move Hue 5 to 10 toward yellow, drop Saturation 5 to 15, and reduce Luminance 10 to 20. The greens will look richer, not louder. Finish with a Radial mask (Exposure +0.3) on the brightest trunk and a Linear mask (Exposure -0.3) on the frame edges to draw the eye inward.
In Snapseed, Tune Image is the starting point: Ambiance +15 to +30 opens the shadows while keeping contrast, and Warmth stays near zero. Then use Curves and pull the bottom left of the curve slightly upward to lift the deepest tones. Selective on a trunk with Brightness +10 and Structure +10 mimics the Lightroom mask, and Healing removes the bright sky hole between branches that pulls the eye out of the frame.
- Field exercise: return to the same patch of woodland on one sunny and one overcast morning. Shoot the same composition each time at f/8, ISO 200, from a tripod, and edit both with the sequence above. The pair will show you, better than any article, why cloudy days are the woodland photographer’s friend.