
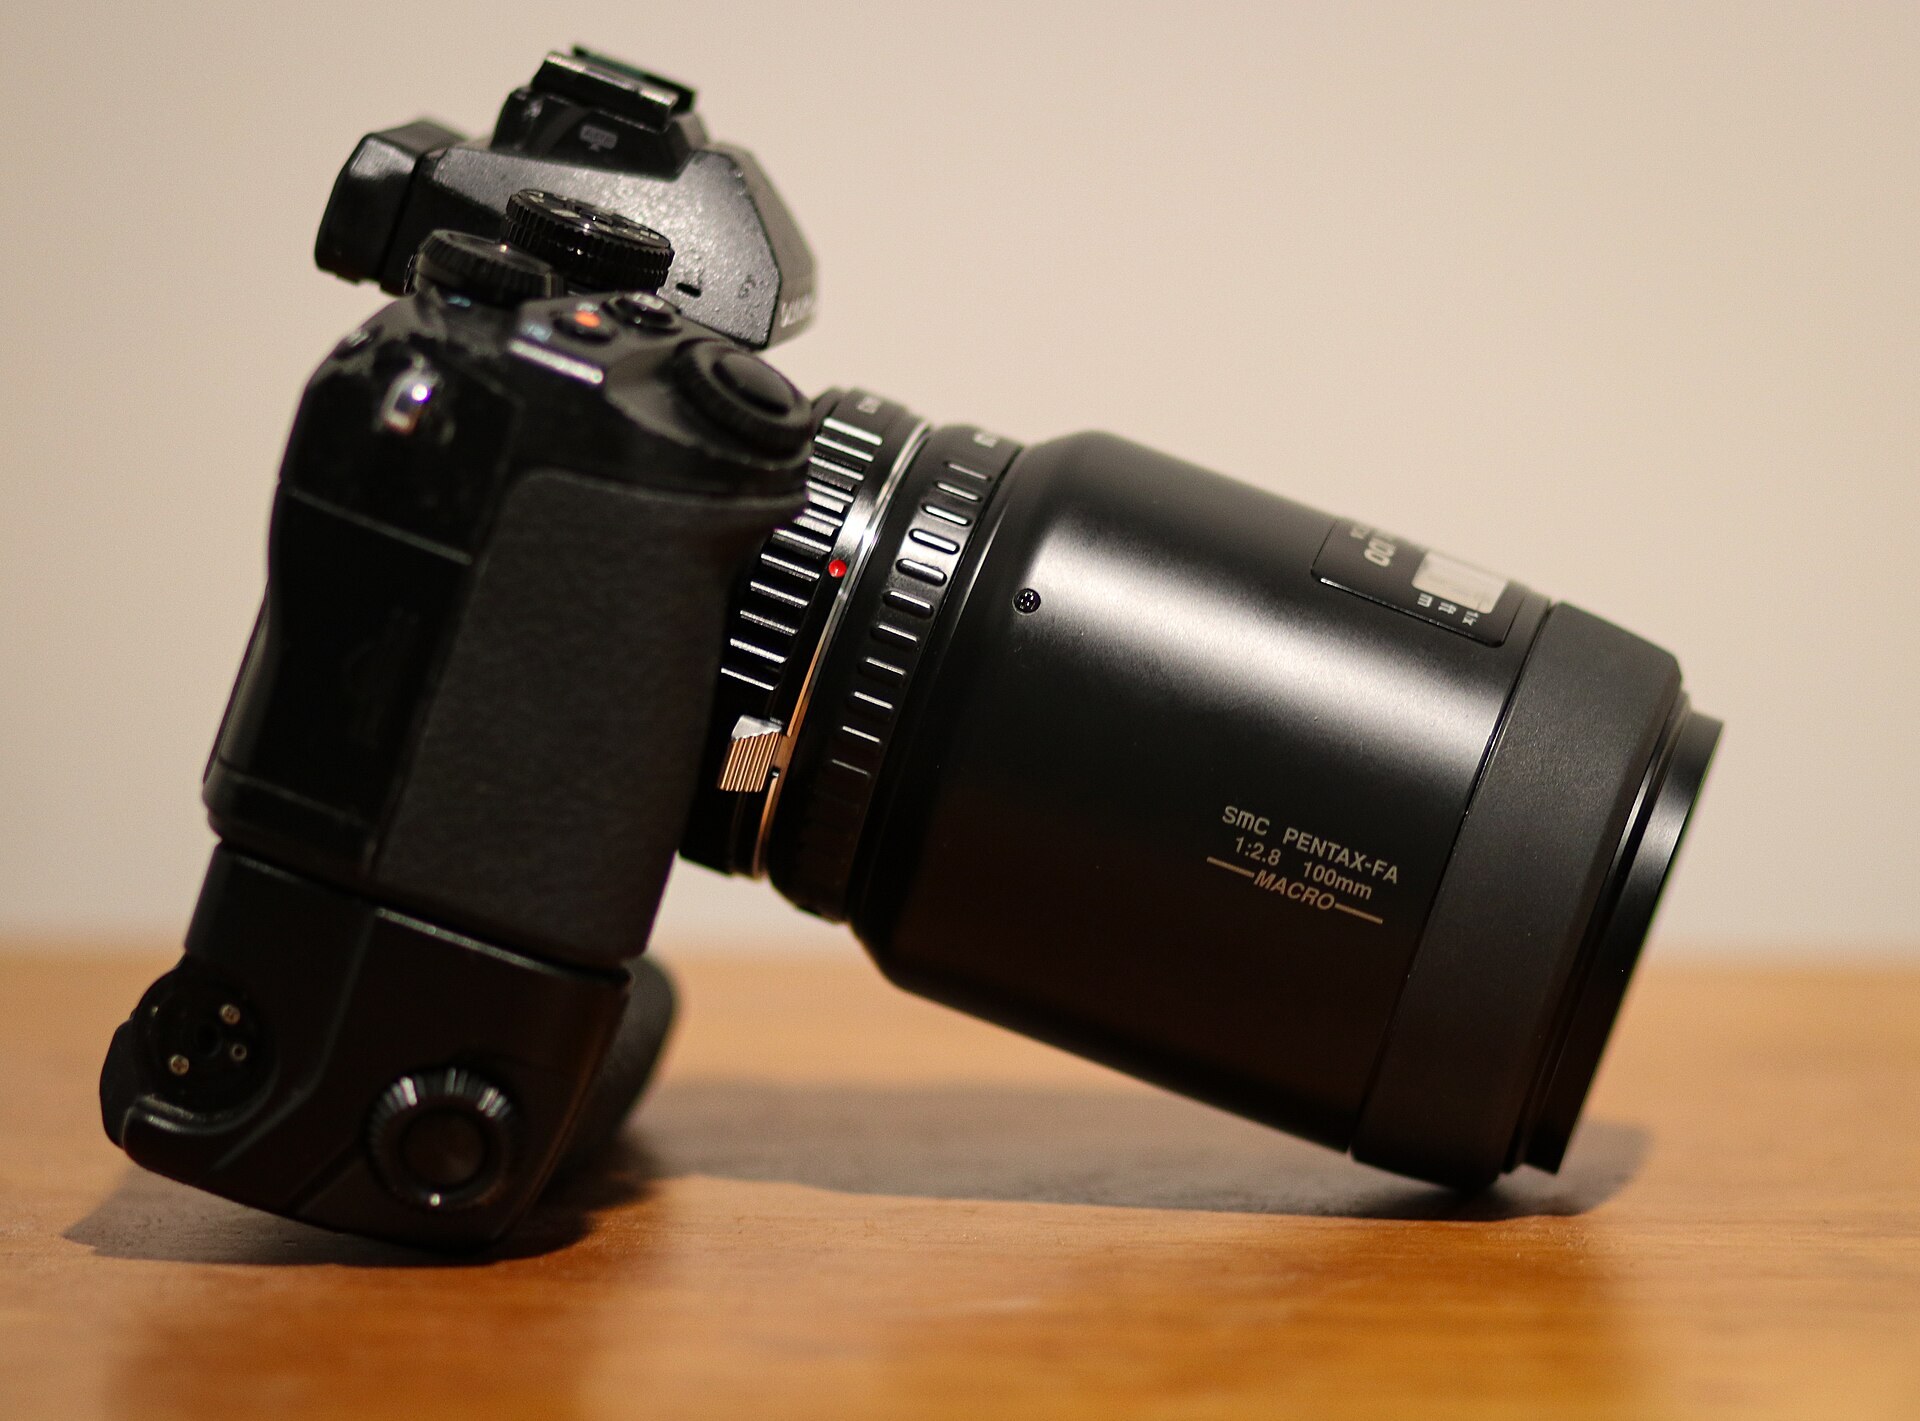
Welcome to the world of photography! Whether you’re using a smartphone, a point-and-shoot, or your first DSLR, this guide will help you understand the essential building blocks of great photos — no technical jargon required.
The Exposure Triangle: Your First Step
Photography is about light — and learning how to control light is the key to making better images. That’s where the exposure triangle comes in.
It consists of:
- Aperture (f-stop) – Controls how much light enters the lens
- Shutter Speed – Controls how long the light hits the sensor
- ISO – Controls the sensor’s sensitivity to light
Mastering these three will give you creative control over depth of field, motion blur, and image brightness.
Learn more: Understanding the Exposure Triangle (Digital Photography School)
Automatic vs Manual Mode: What Should You Use?
Many beginners start in Auto mode — and that’s perfectly fine. But as you grow, consider trying:
- Aperture Priority (A or Av) to control depth of field
- Shutter Priority (S or Tv) to freeze or blur motion
- Manual Mode (M) for full control
See a step-by-step beginner guide to shooting in Manual
What Type of Camera Is Best for Beginners?
Here’s the good news: you don’t need the latest camera to start taking great photos. Even an older DSLR or a decent smartphone can do wonders with the right technique.
That said, here are three beginner-friendly options:
| Camera | Type | Why It’s Great |
|---|---|---|
| Canon EOS R50 | Mirrorless | Lightweight and intuitive UI |
| Nikon D3500 | DSLR | Budget-friendly, great battery life |
| iPhone 14 / Pixel 7 | Smartphone | Great for spontaneous moments & editing apps |
Don’t forget: the best camera is the one you have with you.
Practice Assignments You Can Try Today
To apply what you’ve learned, try these beginner challenges:
- Take a portrait at f/2.8 and f/8 to see the difference in background blur
- Capture a moving subject at 1/1000s vs 1/30s
- Shoot the same scene at ISO 100 and ISO 1600, compare the noise
Bonus Tips
- Always clean your lens — even smartphones
- Use the rule of thirds to improve your composition
- Learn to read your histogram (it’s more useful than the screen!)
- Don’t delete photos too fast — review them later on a bigger screen
Ready to Go Deeper?
Start exploring these beginner-friendly articles next:
- Aperture vs Shutter Speed: What Controls What?
- Beginner’s Guide to Composition in Photography
- JPEG vs RAW: Which Format Should You Use? ← internal link à venir
Your first outdoor session, step by step
The exposure triangle only makes sense once you feel the settings change a real photo. Pick a park, a trail or a quiet street in the late afternoon, take one lens, and give yourself forty-five minutes. Set the camera to Aperture Priority, put the ISO on Auto with a ceiling of 1600 if your camera allows it, and set the focus mode to single point so you decide what is sharp. Shoot in RAW plus JPEG so you can compare later on a big screen.
Start with a static subject such as a bench or a signpost. Shoot it at f/4, f/8 and f/16 without moving. Then find something moving, like a cyclist or water in a fountain, switch to Shutter Priority and shoot it at 1/1000 s, 1/250 s and 1/30 s. Notice that at 1/30 s the camera opens the aperture and drops the ISO to compensate: that is the triangle working in front of you. Finish in Manual mode with f/8, 1/250 s and ISO 200 in open shade, then step into direct sun and watch the meter in the viewfinder shift before you correct it.
Keep a simple rule for handheld sharpness: the shutter speed should be at least one over the focal length, so 1/60 s for a 50 mm lens and 1/250 s for a 200 mm lens, and faster still if you are out of breath.
What to check on the back of the camera before moving on
Do not judge a picture by how bright it looks on the rear screen; screen brightness changes with the ambient light and lies constantly outdoors. Press the info or display button until the histogram appears. Pixels squashed against the right edge mean blown highlights, usually the sky; against the left edge, blocked shadows. Most cameras can also show blinking highlight warnings, often called highlight alert or zebras: turn them on in the playback menu and treat a blinking sky as a cue to reduce exposure compensation by one third to two thirds of a stop.
Then zoom the playback to 100 percent on the exact spot you focused on. Soft eyes or a sharp fence behind a blurry subject tell you the autofocus grabbed the background. The fix is to move the focus point onto the subject rather than recomposing after locking focus, especially at f/2.8 where the zone of sharpness is only a few centimetres deep. Three mistakes account for most disappointing beginner photos:
- Camera shake from a shutter speed that is too slow. Raise the ISO to 800 or 1600; a little noise is far better than a blurred frame.
- Underexposed faces against a bright sky. Add plus one stop of exposure compensation or turn the subject so the light falls on the face.
- Forgotten settings, such as ISO 3200 left on from the evening before. Check the ISO and the exposure compensation dial every time you switch the camera on.
Final Thought
Photography is not about having the best gear — it’s about seeing light, telling stories, and learning step by step.
You’ve taken your first one. Let’s keep going!