
Control how much of your image is in focus — for creative impact
Some photos are sharp from foreground to background.
Others have a crisp subject and a dreamy, blurry background.
This is all about depth of field (DoF) — a creative and technical element that helps guide the viewer’s eye and define your image’s style.
Let’s explore what it is, what affects it, and how to master it.
Depth of Field Defined
Depth of field refers to the zone of sharp focus in an image — from the nearest in-focus object to the farthest.
- Shallow DoF: only a small slice is in focus (e.g., portrait with blurred background)
- Deep DoF: most or all of the image is in focus (e.g., landscape)
It’s one of the most powerful tools to create separation, softness, or clarity.
What Affects Depth of Field?
| Factor | Effect |
|---|---|
| Aperture | Wider aperture (f/1.8) = shallower DoF Narrow aperture (f/11) = deeper DoF |
| Focal Length | Longer lenses (e.g. 85mm) compress background and blur more |
| Distance to Subject | Closer = shallower DoF Farther = deeper DoF |
| Sensor Size | Larger sensors = shallower DoF at same settings |
Use a combination of f/stop, lens, and distance to control your DoF.
Examples by Style
| Style / Scene | Settings | Result |
|---|---|---|
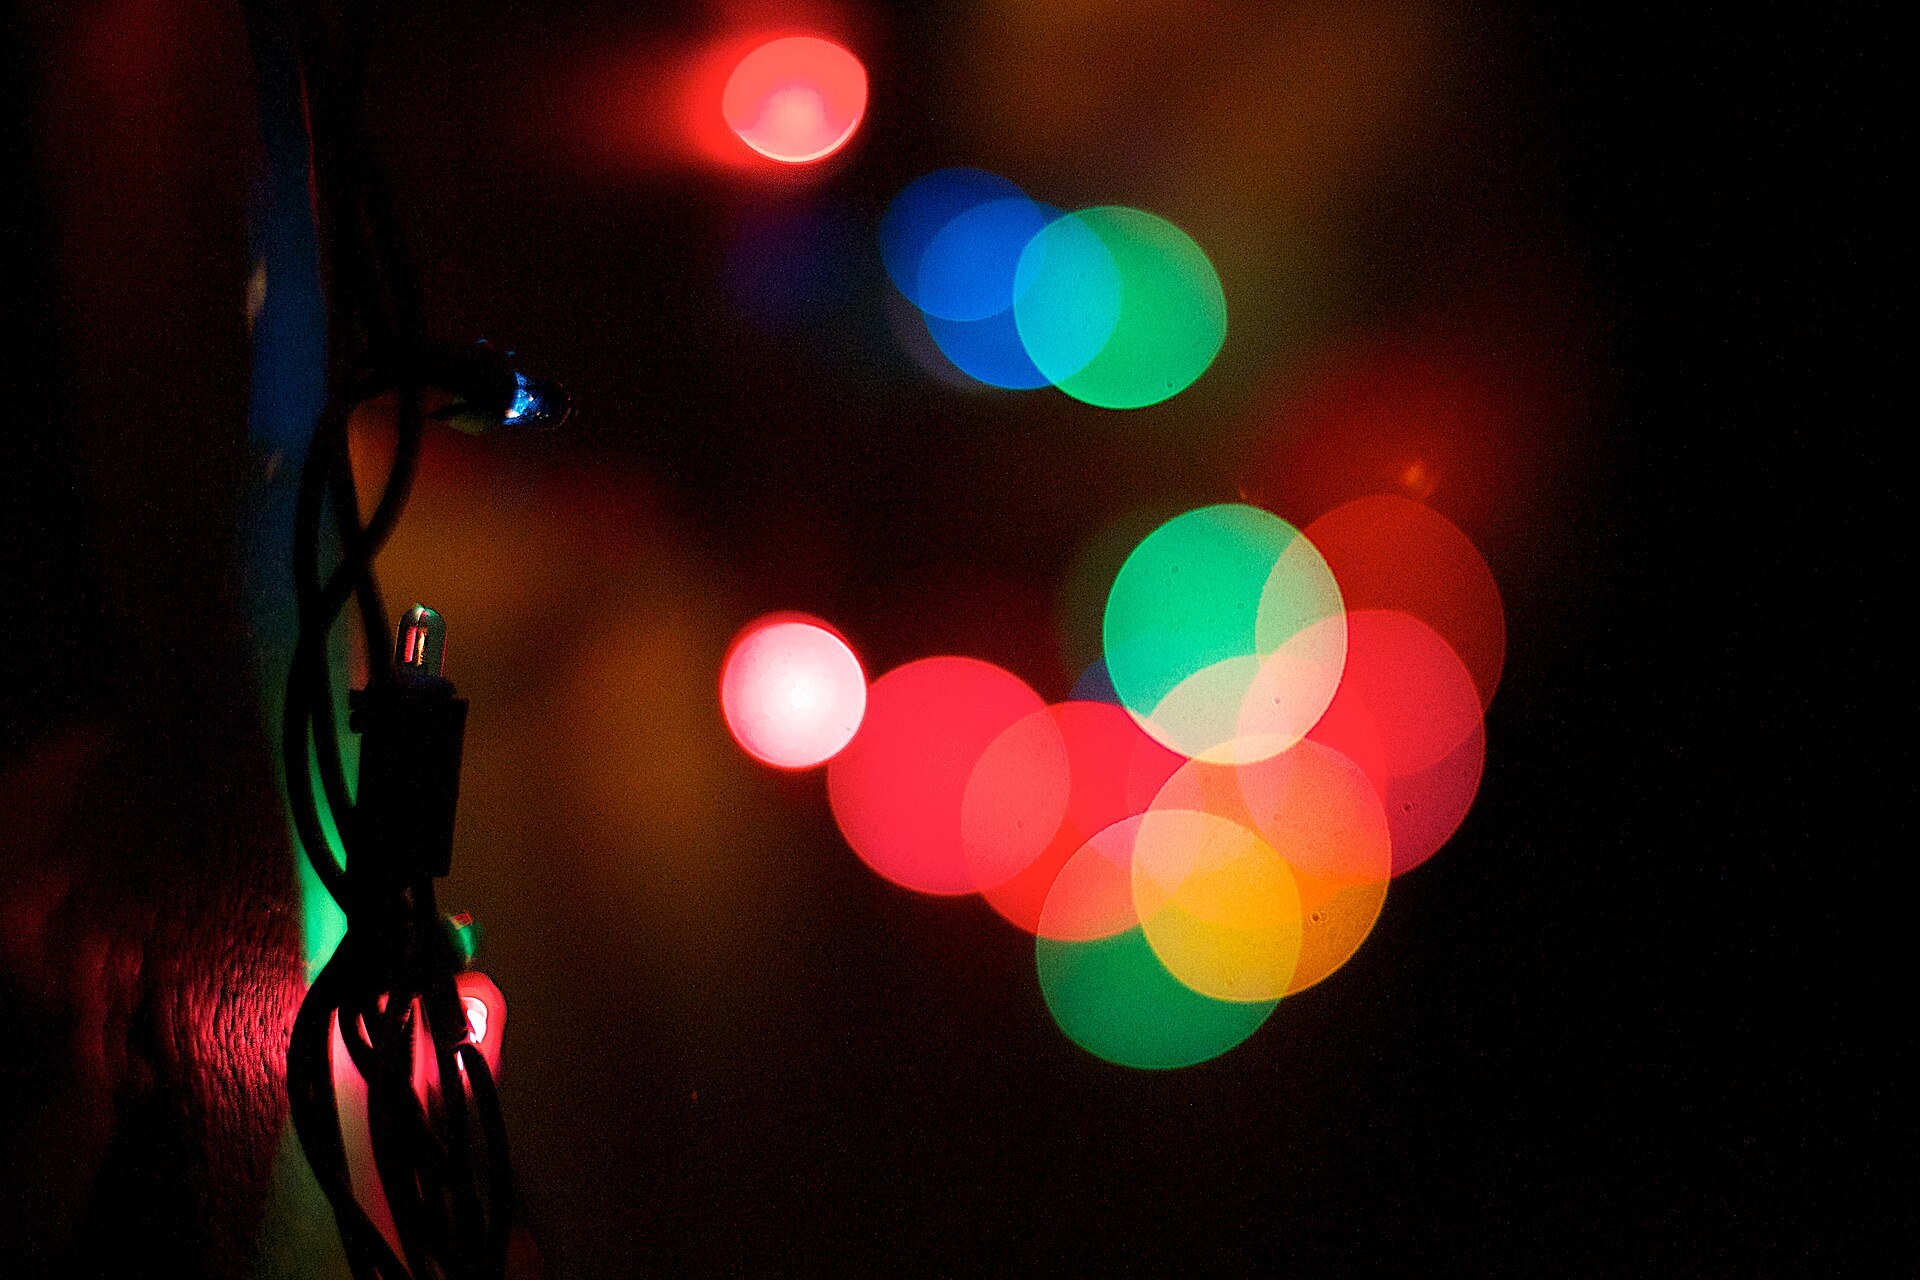
| Portrait | 85mm, f/1.8 | Subject in focus, creamy background blur (bokeh) |
| Landscape | 24mm, f/11 | Sharp foreground and distant mountains |
| Macro | 100mm, f/4 | Razor-thin focus on insect or petal |
| Street | 35mm, f/5.6 | Subject pops, environment still visible |
Tips for Controlling DoF
- Use Aperture Priority mode (A or Av) to control f-stop
- Focus precisely — especially with shallow DoF (use eye-detection if available)
- Use live view or depth preview to check how much is sharp
- Consider focus stacking for macro or landscape shots needing sharpness front to back
Misconceptions to Avoid
- f/22 isn’t always sharper — diffraction can reduce image clarity
- Bokeh ≠ depth of field — bokeh is the quality of the blur, not the amount
- You don’t need f/1.2 to get blur — use subject distance wisely
Final Thought
Depth of field isn’t just technical — it’s emotional.
It lets you guide the eye, isolate the subject, or capture the full story.
Control it well, and your photos will speak with clarity and intention.
A field routine for setting depth of field on purpose
Theory is one thing; placing the zone of sharpness where you want it on a windy trail is another. Build the habit in this order. First, choose the story: a single flower or face wants a shallow zone, a valley with a foreground rock wants a deep one. Second, pick the aperture that serves it before anything else: f/1.8 to f/2.8 for isolation, f/4 to f/5.6 for a subject with some context, f/8 to f/11 for landscapes on most cameras. Third, set shutter speed and ISO to serve that aperture, not the other way round: a handheld landscape at f/11 in soft light is often 1/60 s to 1/125 s at ISO 200-400, while a portrait at f/2 in the same light will sit near 1/1000 s at ISO 100.
Fourth, choose the focus point deliberately. Switch the camera to single-point autofocus and place the point on the nearest eye, the closest petal, or, for a landscape, roughly one third of the way into the scene. Fifth, before you walk away, verify. Press the depth-of-field preview button if you have one, or take the frame and use playback zoom at 100 percent on both the subject and the far edge of the zone you wanted sharp. If the background is sharper than the subject, you focused past it; if the foreground rock is soft in a landscape, stop down one more step or move the focus point closer.
Common depth-of-field mistakes and how to fix them
The first mistake is shooting a group of hikers at f/1.8 and finding only one person sharp. When several subjects sit at different distances, stop down to f/4-f/5.6 and step back; distance adds depth faster than any f-stop. The second is the opposite: a landscape at f/22 that looks soft everywhere because of diffraction. On most cameras f/8-f/11 is the sweet spot, and if you still need more depth, take two frames focused near and far and blend them later. The third is missed focus on a single subject: the camera picked the branch in front of the bird. The fix is single-point AF plus back-button focus, and a quick zoom check on the rear screen before you move on.
Editing can rescue a little, but not a lot. In Lightroom Mobile, Sharpening at 30-50 in the Detail panel with Masking raised to 60-80 will crisp the subject without sharpening the blur, and a Radial mask with Sharpness at -20 over the background pushes it further back. Snapseed offers the same with the Details tool (Structure +10, Sharpening +15 on a soft subject) and Lens Blur, which adds an adjustable blur outside an ellipse; keep the transition wide and the strength low, or the fake blur shows along the edges.
- Field exercise: put a water bottle on a rock with trees 10 meters (30 feet) behind it, shoot it at f/2.8, f/5.6 and f/11 from 1 meter, then again from 3 meters. Six frames show exactly how aperture and distance trade against each other, and which combination gives the look you like.