
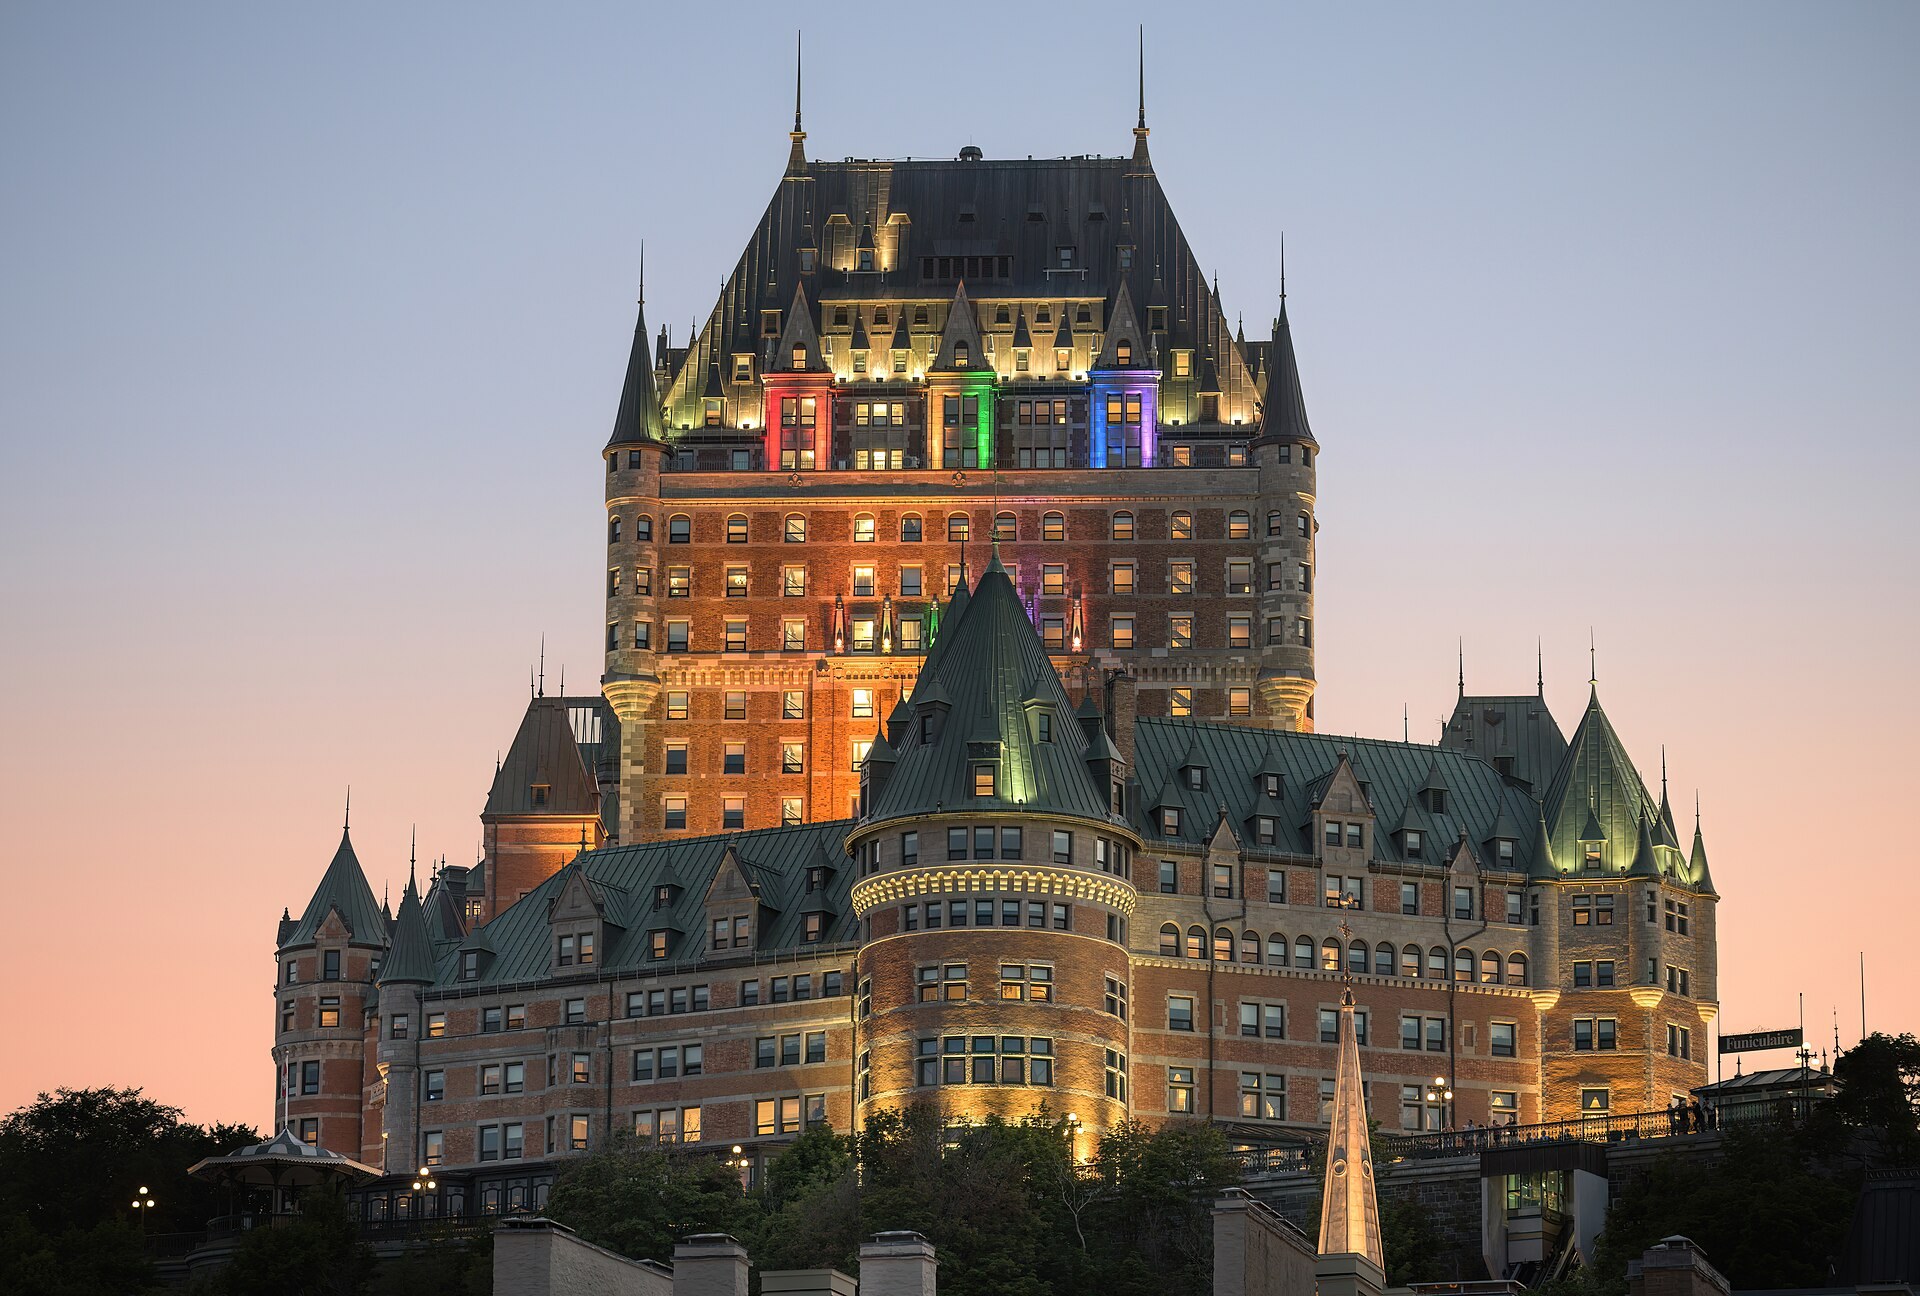
Cool, warm, or neutral — it’s your choice, not just your camera’s
Your camera sees color based on the light around it.
If you’ve ever taken a photo that looked too blue, orange, or green, you’ve seen white balance issues in action.
But what if you used white balance creatively, instead of just fixing it?
Here’s how to understand, control, and use white balance intentionally in your outdoor shots.
What Is White Balance?
White balance (WB) adjusts how your camera interprets color temperature in different lighting conditions.
| Light Type | Color Temperature |
|---|---|
| Candlelight / Sunset | ~2000–3000K (very warm/orange) |
| Daylight | ~5200–5500K (neutral) |
| Overcast / Shade | ~6000–7500K (cool/blue) |
If white balance is incorrect:
- Skin tones may look unnatural
- Snow might turn blue
- Indoor shots can look yellow or green
But with the right adjustment, colors look natural — or artistically stylized.
Main White Balance Presets
- Auto WB (AWB): Camera decides (usually OK, but not always perfect)
- Daylight: Good starting point outdoors
- Cloudy: Warms up the image slightly — great for overcast hikes
- Shade: Adds warmth for cool environments
- Tungsten: Corrects for yellow indoor light (rare in nature)
- Custom / Kelvin: Manual control in degrees (for creative use)
How to Set White Balance
- In camera menu or with a dedicated WB button
- In RAW editing software (e.g. Lightroom, Capture One)
- With gray card or neutral target (for precise calibration)
Shoot in RAW whenever possible — you can adjust WB non-destructively afterward.
Creative Uses of White Balance
- Set WB to Cloudy or Shade during golden hour for rich warmth
- Use Cooler WB to enhance foggy, moody forests
- Try Tungsten WB outdoors at sunset for an unexpected blue/purple twist
- Warm up winter scenes slightly to make them feel more inviting
Creative White Balance Examples – PetaPixel
Practice Ideas
- Take the same photo at Auto, Daylight, Cloudy, and Shade — compare tones
- Use Kelvin mode and adjust from 3000K to 7000K
- Try a series: one neutral, one warm, one cool — and see which conveys the best emotion
Final Thought
White balance is not just technical — it’s emotional.
Choose warmth for comfort, coolness for distance, and balance for realism.
Dialing in white balance by hand in the field
Presets are fine, but the Kelvin setting gives you a repeatable starting point that does not change from frame to frame. Set the camera to K, start at 5200 for sun and 6500 for open shade, then adjust in 300 to 500 K steps while watching the rear screen. Lower numbers cool the image, higher numbers warm it. Look at something you know is neutral, such as a gray rock, snow or a white cloud: when it looks neither blue nor yellow, you are close. Turn on the RGB histogram if your camera has one; a strong cast shows up as the red or blue channel sitting far to the right of the others.
For precise color, carry a gray card. Photograph it in the same light as your subject at the start of the session, set custom white balance from that frame, and reuse the setting until the light changes. Even if you only shoot RAW, one gray card frame per scene lets you click the eyedropper later and sync every image in seconds. Mixed light is the usual trap outdoors: a subject in shade under blue sky against a sunlit background cannot be neutral everywhere, so choose which area must look right, usually skin or the main subject, and let the rest lean cool or warm.
Two mistakes are common. Auto white balance drifts as clouds pass or as you tilt toward green foliage, so a series of shots ends up with slightly different tints; fixing WB in camera removes that problem. And warming winter scenes too far turns snow yellow and skin orange. A good check on the back of the camera is to compare the preview against the real scene with your own eyes and ask whether the mood is stronger or just wrong.
Refining color temperature and tint in the edit
In Lightroom, the Temp slider runs from blue to yellow and Tint from green to magenta. Under a tree canopy the light is green, so a small push of Tint toward magenta, often +5 to +15, does more than Temp alone. Click the White Balance eyedropper on a neutral to get a baseline, then adjust to taste rather than accepting it blindly. A warm sunset can sit at 6000 to 7000 K while a moody fog scene reads well at 4500 to 5000 K.
When one part of the frame needs a different balance, use a mask. Select the subject and warm it by a few hundred Kelvin, or select the sky and cool it slightly; masks carry their own Temp and Tint sliders. If skin drifts orange, go to HSL and reduce the saturation of oranges by 5 to 10 instead of cooling the whole image.
- Shoot one scene at 3500, 4500, 5500, 6500 and 7500 K.
- Import, view the five frames side by side and pick the mood you prefer.
- Note the Kelvin value and use it as your default for that kind of light.
Related Articles
- Golden Hour vs Blue Hour
- [Editing RAW Files for Color Accuracy (Coming soon)]
- Light and Shadow in Outdoor Photography