
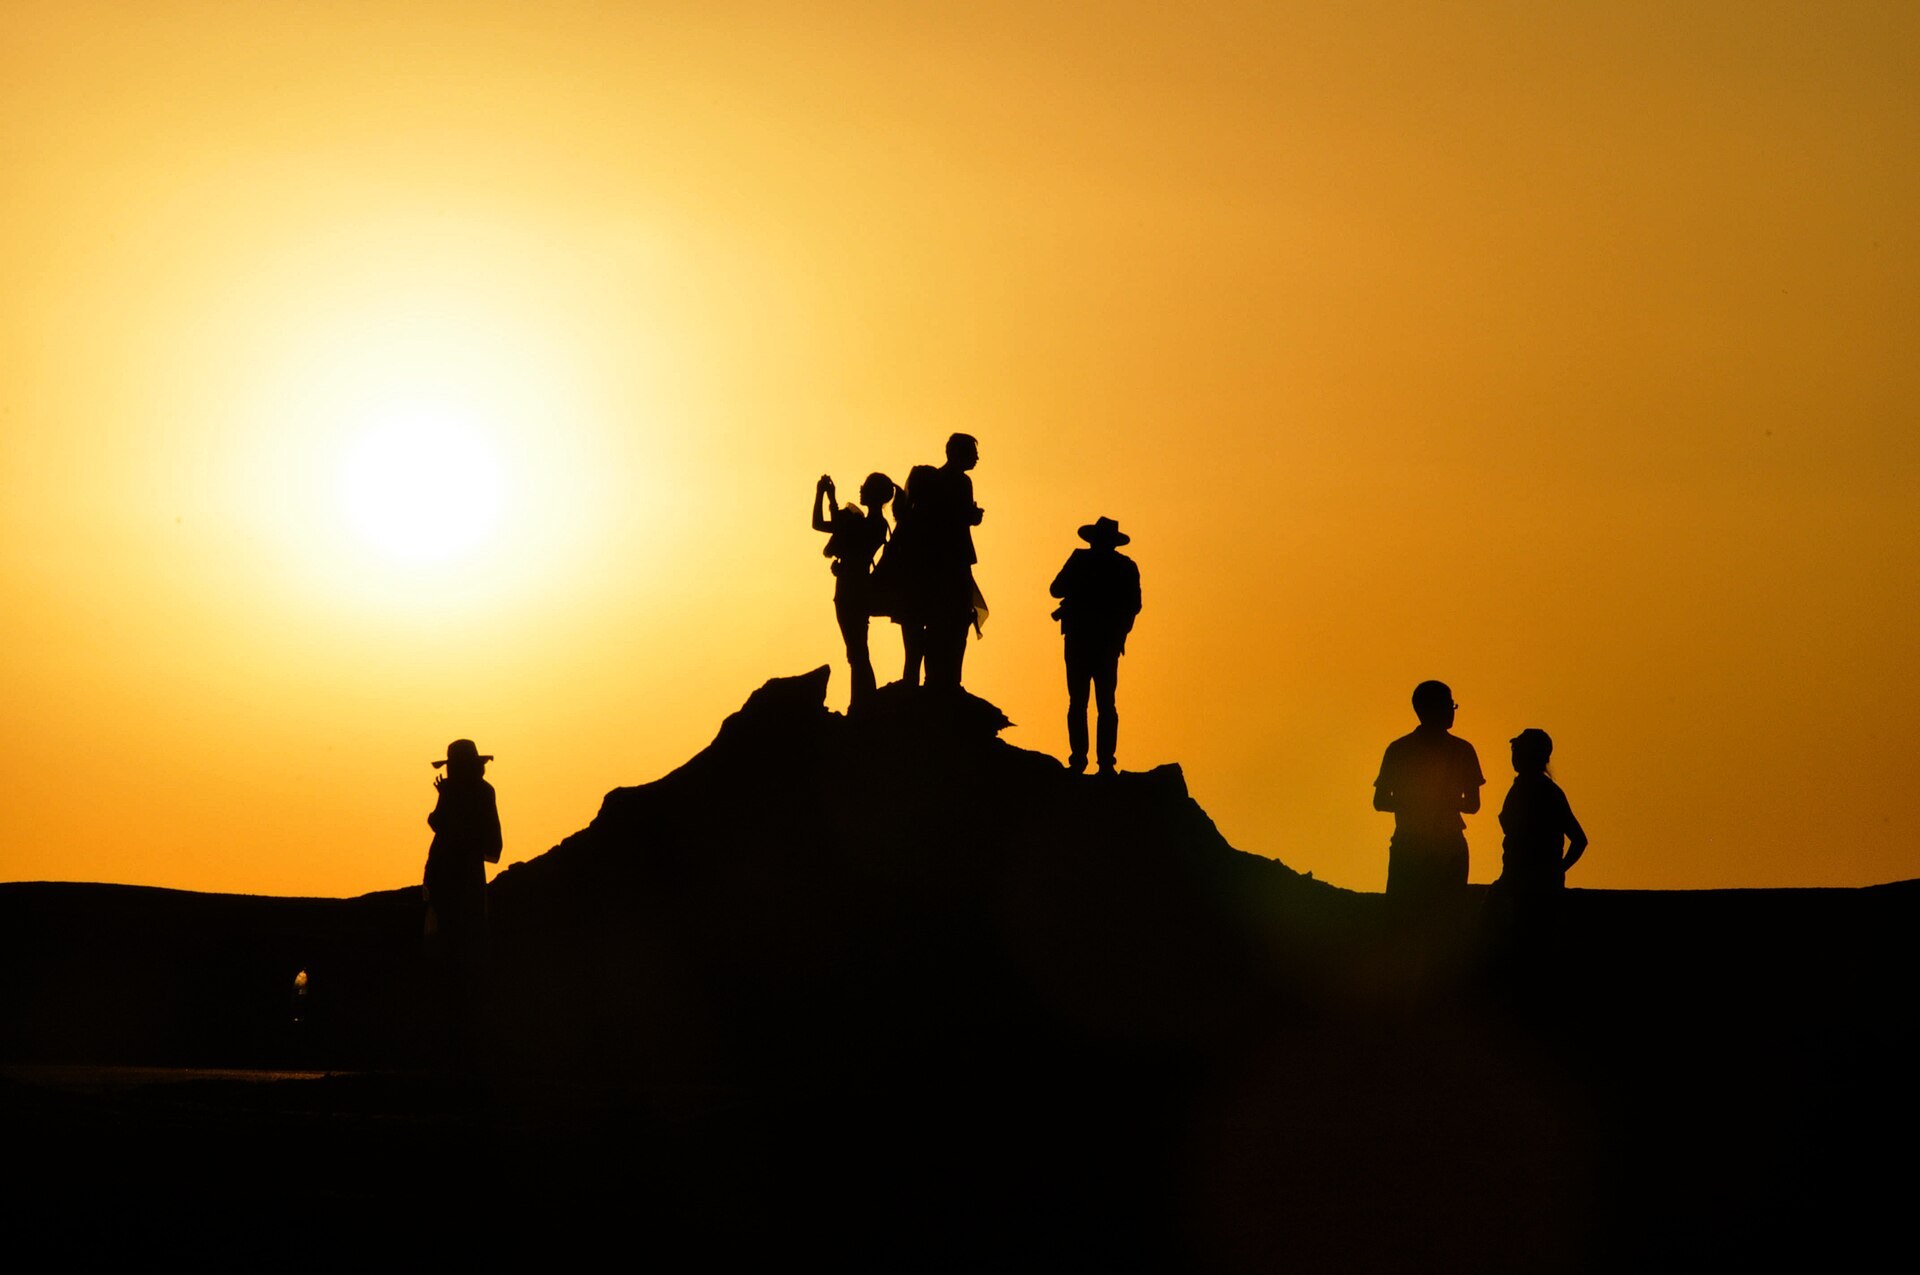
Create glow, depth, and drama by shooting into the light
Shooting into the sun sounds like a bad idea — but when done right, backlighting can produce stunning photos full of mood, glow, and atmosphere.
It’s one of the most powerful natural light techniques, especially for portraits, nature scenes, and golden hour photography.
Here’s how to master it without losing detail or blowing out your image.
1. What Is Backlighting?
Backlighting occurs when the main light source is behind your subject — usually the sun in outdoor photography.
Effects you can create:
- Rim light or glow around your subject
- Silhouettes
- Transparent leaves or fabrics
- Golden haze and soft shadows
It’s a great way to add depth and separation between subject and background.
2. Camera Settings for Backlit Scenes
| Goal | Suggested Settings |
|---|---|
| Golden glow (with detail) | f/2.8–f/4 – 1/500s – ISO 100 |
| Silhouette | f/8 – 1/1000s – ISO 100 (expose for sky) |
| Portrait with rim light | f/2.8 – 1/800s – ISO 200 (use lens hood) |
Tips:
- Use exposure compensation (-0.3 to -1) if your camera overexposes
- Spot metering helps expose the face or highlight area properly
How to Shoot Backlit Photos – Photography Life
3. Creative Ways to Use Backlight Outdoors
- Capture sunlight through leaves or flowers (translucent textures)
- Shoot a hiker at sunset for rim light and emotion
- Include flare (intentionally) by partially obscuring the sun
- Use fog or dust to scatter the light and add atmosphere
Try blocking the sun slightly with your subject or a tree — this reduces harsh flare.
4. Gear Tips for Backlight
- Lens hood: Reduces unwanted flare
- Prime lens: Often handles flare better than zooms
- UV or polarizing filter: Optional — can reduce haze but sometimes adds flare
- Reflector or white surface: Bounce light back into the subject’s face
For portraits: A white t-shirt, journal, or even your hand can work as a fill.
Practice Prompts
- Shoot the same scene with and without backlight — compare the mood
- Try a partial silhouette with a lit background but visible details
- Use a leaf or hand to cover the sun slightly, then reposition slowly to capture edge light
Related read: Hiking with Light Transitions – LetsGoPlayOutside
Final Thought
Backlighting brings soul to your images.
With a bit of practice, you’ll learn not just to shoot with the light — but through it.
Exposing a backlit scene step by step
The fastest way to ruin a backlit photo is to let the camera decide. Its meter sees the bright sky behind your subject and darkens everything, so faces turn into muddy shadows. Take control in three steps. First, switch to spot metering and place the spot on the part of the subject you care about, usually the cheek or the brightest part of the fur, leaves, or fabric. Second, set the exposure so that area sits close to mid-tone: in aperture priority, dial in +0.7 to +1.3 of exposure compensation; in manual, adjust until the meter reads around zero on the face, then accept that the sky will clip. Third, take a test frame and read it, not the preview.
Typical starting points: f/2.8-f/4 for portraits, f/8-f/11 for landscapes, shutter 1/250 s to 1/1000 s, ISO 100-400. Keep the sun just outside the frame or hidden behind a tree trunk, a shoulder, or a leaf, and hold your hand above the lens to shade the front element if you have no hood. If autofocus hunts because of flare, aim at a high-contrast edge next to your subject, lock focus, and recompose.
On the back of the camera, check three things: the histogram should show a healthy hump in the middle for the subject with a spike on the far right for the sky; the highlight alert (blinkies) should flash only on the sun itself, not on skin; and at 100 percent zoom, the rim light should show detail, not a solid white outline. If the face is still dark, add another +0.3 and repeat. If the whole frame looks grey and washed out, that is flare, not exposure: move a step sideways and reshoot.
Common mistakes and the edit that saves them
Three errors show up again and again. Underexposing the subject to protect the sky is the big one; a clipped sky behind a well-lit face usually looks fine, the reverse never does. Shooting with a dirty front element multiplies flare, so wipe the lens before every backlit session. And composing with the sun fully inside the frame at f/2.8 produces a giant soft blob; stop down to f/11-f/16 if you want a crisp sunstar, or hide the sun partially for a controlled glow.
In Lightroom, start with Highlights at -40 to -80 to bring the sky and rim light back, then lift Shadows +30 to +60 for the subject. Set Whites so the sun still clips slightly and Blacks so something in the frame stays truly black, otherwise the image goes flat. Keep Dehaze gentle, between +5 and +15, because more will kill the glow you worked for. A Select Subject mask with +0.3 to +0.7 Exposure and a small Texture boost is cleaner than lifting global shadows too far. If skin turns orange, pull Orange Saturation down 10 to 15 points in the HSL panel.
Field exercise: pick one subject and shoot it from four angles around the sun in ten minutes, then compare the four histograms. You will quickly see which angle gives rim light without flare.