
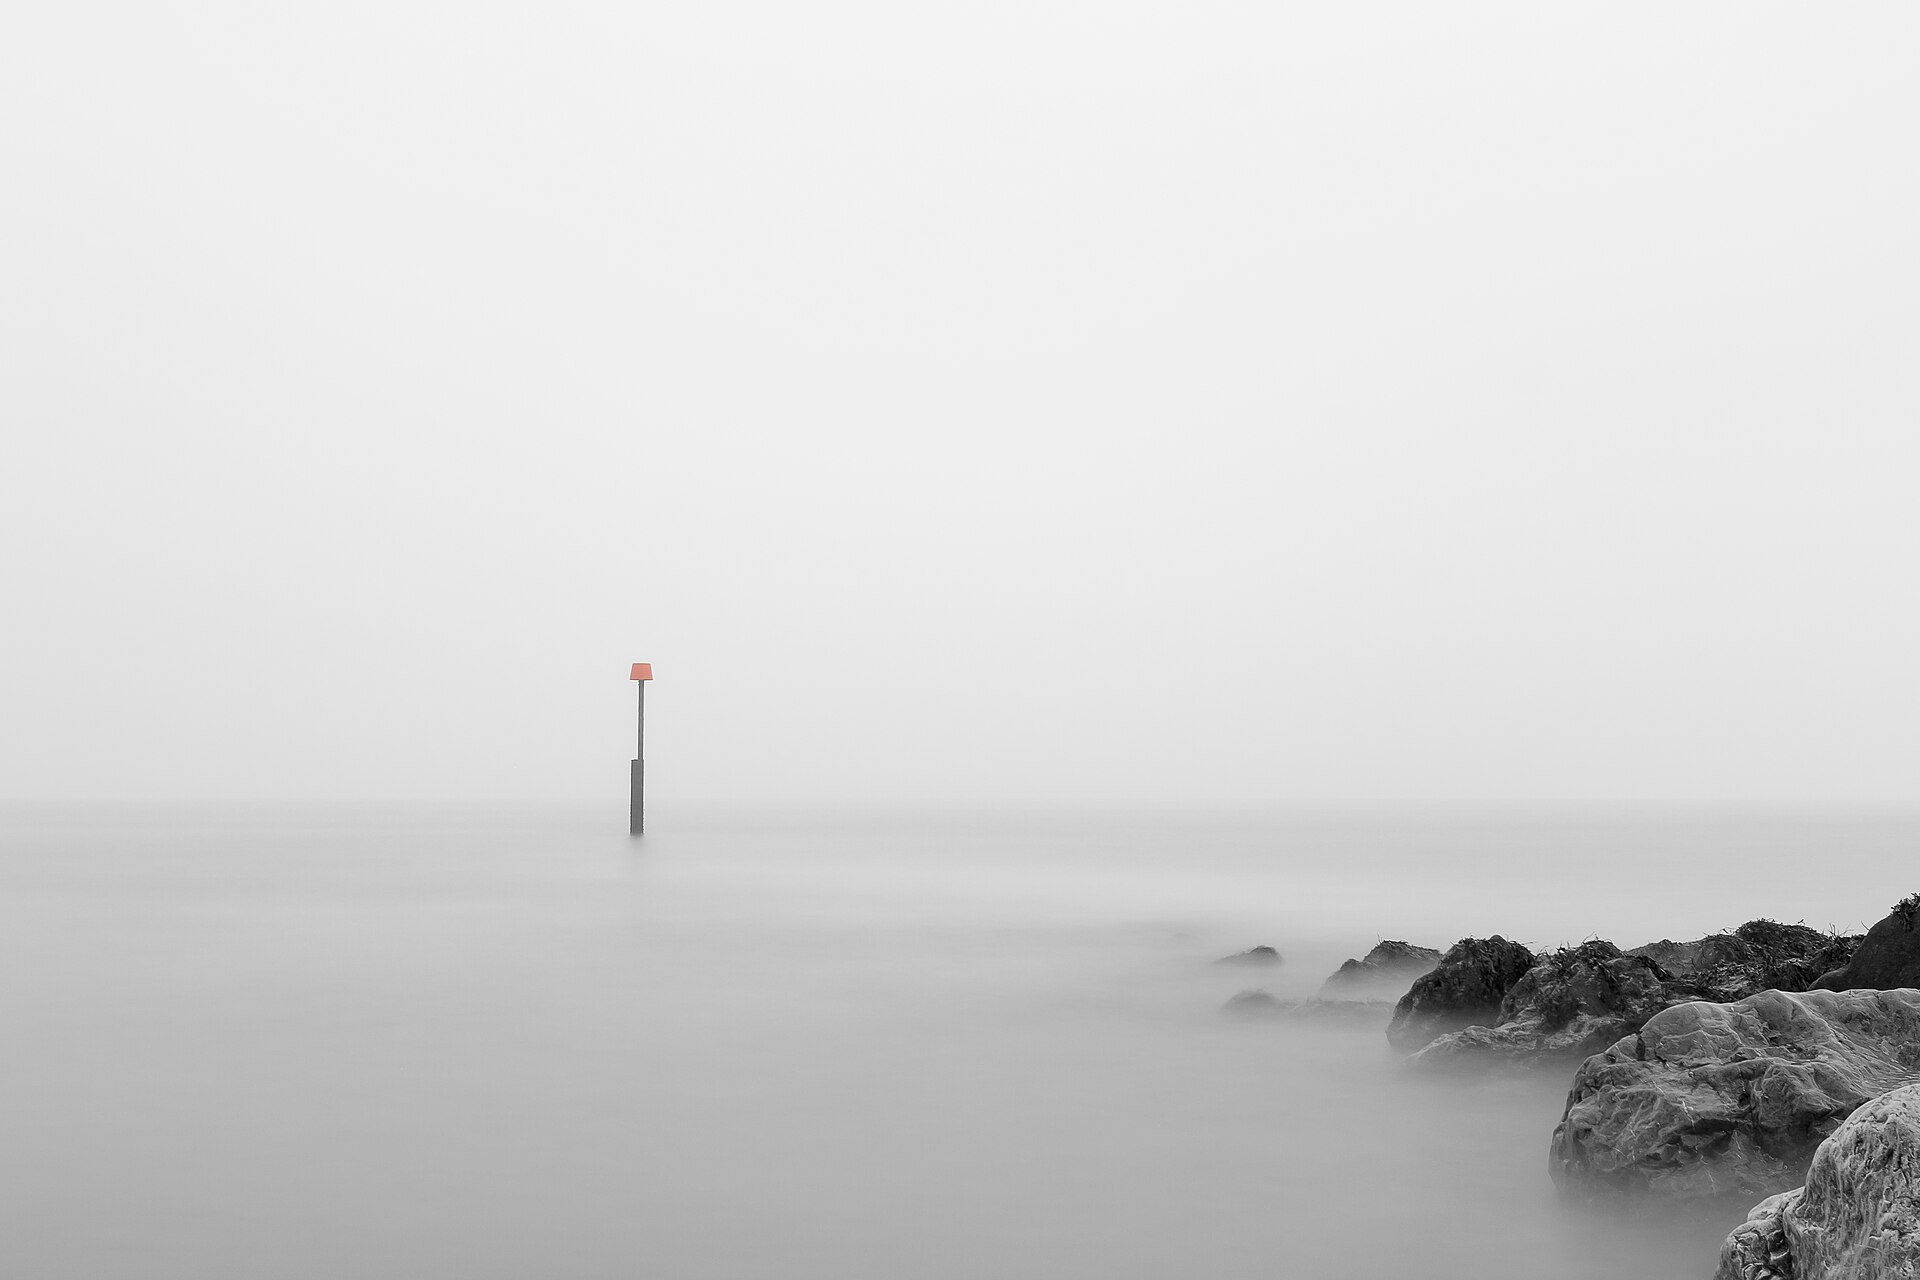
Transform your outdoor photos into timeless visual stories
Black and white photography strips away distractions and lets light, texture, and shape take center stage.
But turning a photo from color to monochrome is more than clicking “B&W” — it’s about intentional contrast, tonal control, and mood.
Here’s how to do it right.
Why Go Black and White?
- Emphasize light and shadow
- Enhance textures in nature (trees, rocks, clouds)
- Focus on composition and form
- Create mood or timelessness
Ideal for:
- Foggy forests
- Harsh mountain light
- Strong silhouettes
- Overcast scenes with little color
B&W is not for dull photos — it’s for photos with strong structure.
Step-by-Step Conversion Workflow (Lightroom, Snapseed, etc.)
1. Start with a Strong RAW File
- Look for scenes with:
- Good contrast
- Defined subject
- Interesting light or textures
Avoid flat lighting unless using mist/fog atmospheres.
2. Convert to B&W
- In Lightroom: Hit “B&W” in the Basic or HSL panel
- In Snapseed: Use the “Black & White” filter
- In Photoshop: Use a Black & White adjustment layer
But don’t stop there — now comes the real work.
3. Control the Tonal Range (HSL or B&W Mixer)
Even though it’s monochrome, the underlying color still influences how things convert.
| Color Channel | Adjust to… |
|---|---|
| Red/Orange | Control skin tones or leaves |
| Yellow/Green | Adjust foliage brightness |
| Blue | Darken sky or water for drama |
This lets you “paint with light” using color-based channels.
4. Refine Contrast and Clarity
- Boost Clarity and Texture to emphasize rocks, bark, and edges
- Adjust Blacks and Whites for strong tonal anchors
- Use Tone Curve to lift or deepen shadows for mood
Watch for “muddy” midtones — ensure clear separation between lights and darks.
5. Add Local Adjustments for Depth
- Dodge (lighten) key areas like the subject or trail
- Burn (darken) background or corners to focus attention
- Optional: Add a subtle vignette for framing
Creative B&W Styles to Try
| Style | How to Create It |
|---|---|
| High contrast | Strong Blacks/Whites, clarity + tone curve |
| Matte finish | Lift black point, reduce contrast |
| Soft & dreamy | Reduce clarity, lift shadows |
| Film look | Grain + tone curve + fade blacks |
Inspiration: Best B&W Nature Photography on 500px
Final Thought
Color shows what’s there.
Black and white shows how it feels.
When you remove color, your eye looks deeper.
Learn to edit with light, structure, and tone — and your monochrome images will never feel flat.
Shoot with black and white in mind
The strongest monochrome images are planned before the shutter fires, not rescued later. On most Canon, Nikon, Sony and Fujifilm cameras you can set a monochrome picture style or film simulation while still recording RAW; the viewfinder shows black and white, but the file keeps all its colour for the mixer later. This preview is the most useful habit for learning to see in tones, because it removes the colour that was hiding a weak composition.
In the field, look for three things: side light on the subject, a range of tones from real black to real white, and repeating shapes such as fence posts, ripples or tree trunks. Expose for the highlights. Set Aperture Priority at f/8 to f/11 for landscapes, ISO 100 to 400, and dial in minus one third to minus two thirds of a stop of exposure compensation so the brightest cloud keeps texture. A blown white sky cannot be brought back, whereas a dark shadow can usually be lifted two stops in editing.
Short exercise for your next overcast walk: choose one subject and photograph it from four positions around it, moving the light from front to side to back. Review the frames with the monochrome preview and note which angle gives the deepest shadows and the cleanest edges. That angle is nearly always the best black and white frame, even if it looks the least appealing in colour.
A tonal checklist before you export
After conversion, most disappointments come down to a few fixable problems. Work through this list on every image:
- The histogram touches neither end. The photo reads as grey fog. Set Whites between +10 and +25 and Blacks between -10 and -25, using Alt-drag to find the first clipped pixels, then pull back a few points.
- The sky is a flat white slab. In the B&W mixer, drag Blue to between -30 and -60 and Aqua to -20; if the sky was overexposed in camera, use a Select Sky mask with Highlights at -50 instead.
- Foliage and grass are muddy. Push Yellow and Green in the mixer to +20 or +40 to separate leaves from trunks and rocks.
- Halos glow around branches. Clarity above +30 or Dehaze above +20 is the usual cause. Zoom to 100 percent, reduce both, and add contrast with the Tone Curve.
- The image looks digital and clinical. Add Grain at Amount 15 to 30, Size 25 and Roughness 50, and lift the black point of the Tone Curve by 5 to 10 for a gentle matte.
Snapseed users can follow the same logic: the Black and White tool has Brightness and Contrast sliders plus colour filters that mimic the mixer, and Tune Image holds Highlights, Shadows and Ambiance. Whichever software you use, finish by viewing the photo at fit-to-screen size and asking where the eye lands first. If it drifts to a bright corner instead of the subject, burn that corner with a brush at Exposure -0.3 to -0.5.