
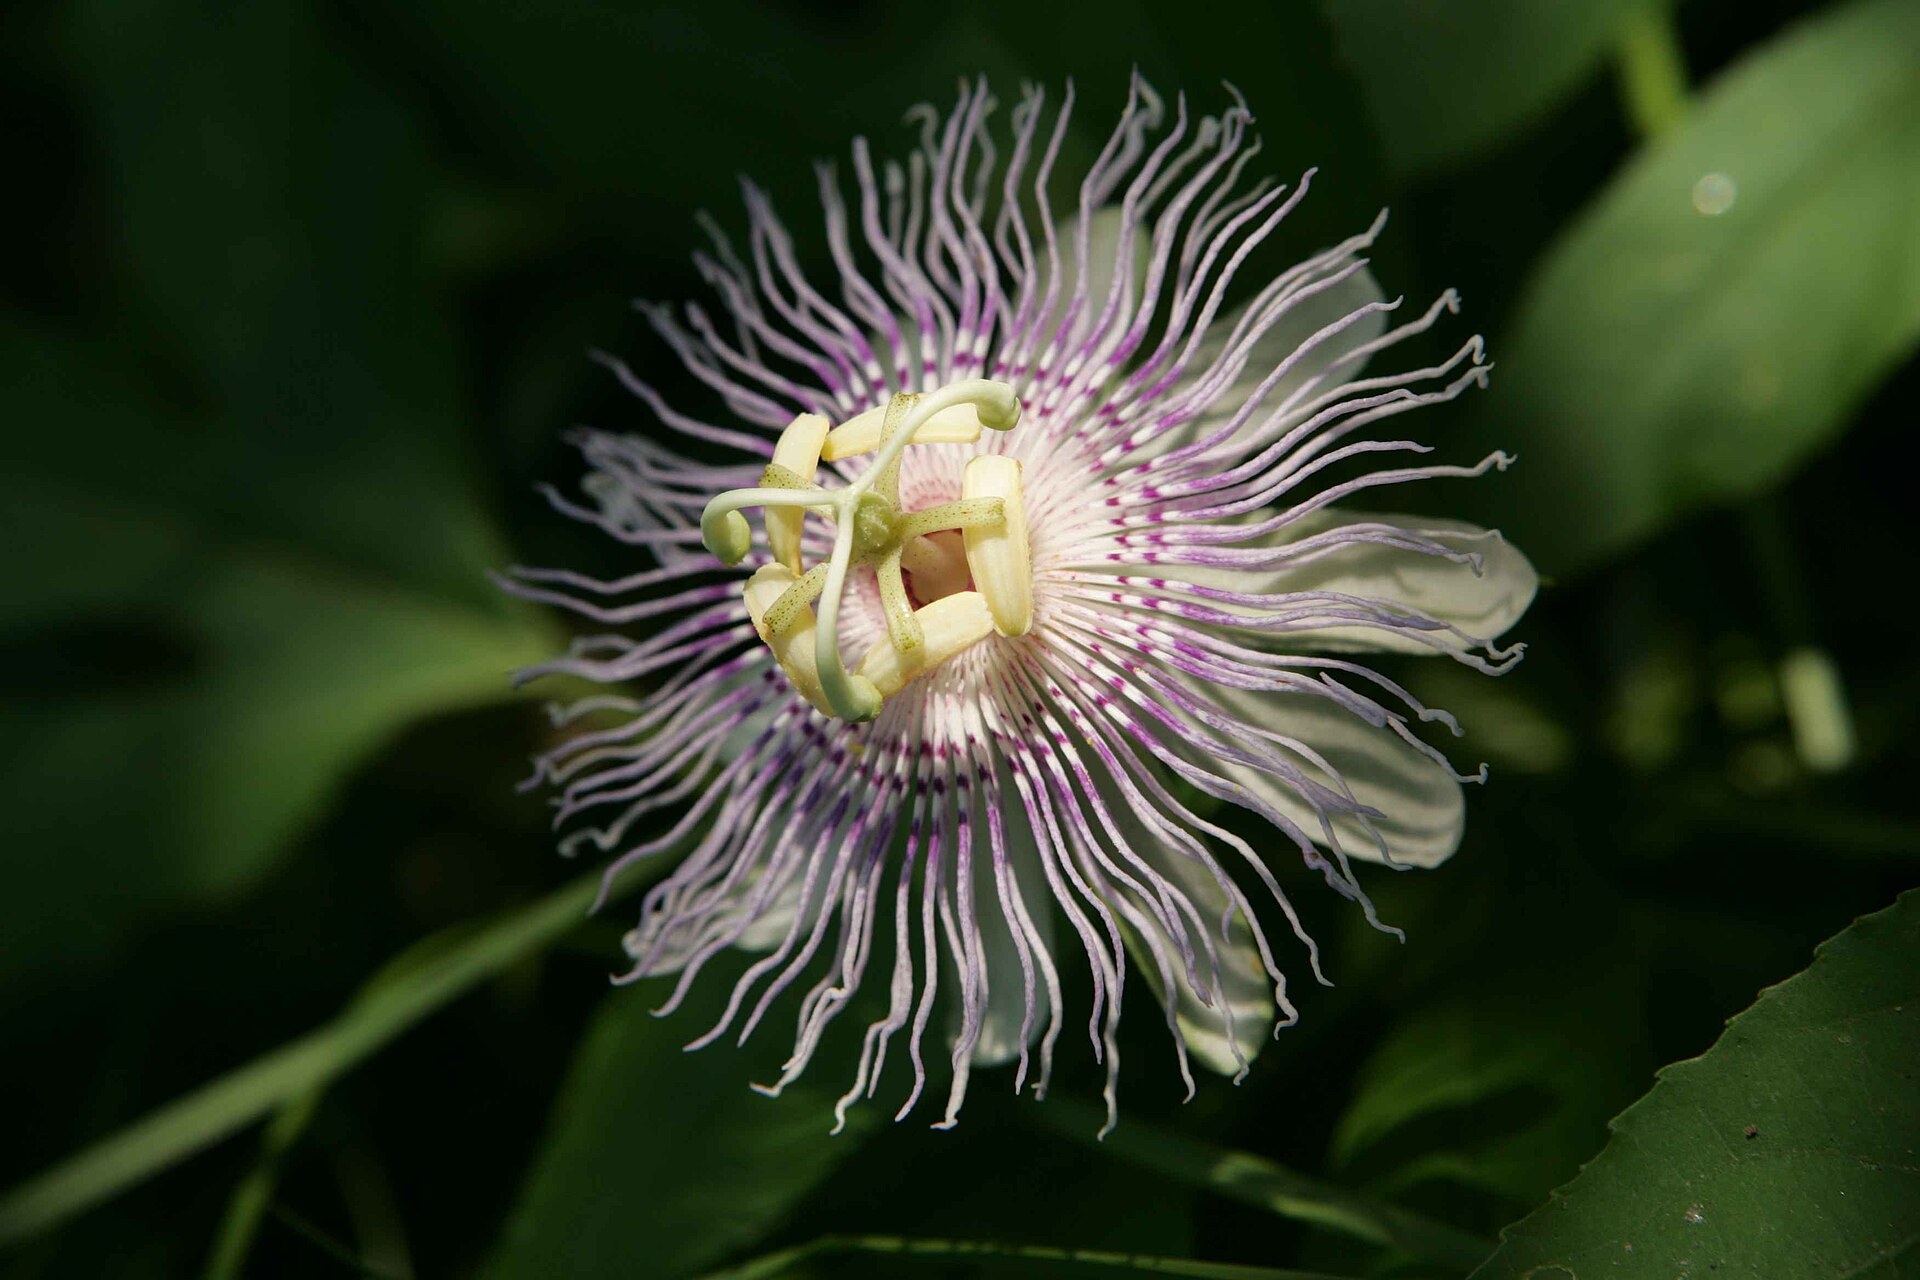
Moss, bark, textures, and the hidden beauty of the outdoors
Outdoor photography isn’t just about sweeping landscapes and dramatic skies.
Some of the most emotional and poetic images come from looking closer — at a leaf, a pattern, a drop of water.
This guide will help you capture natural textures and details in the wild, using both macro and standard lenses.
1. Why Details Matter in Outdoor Photography
- Tell micro-stories within a larger scene
- Focus attention on color, texture, or shape
- Add variety to your photo set from a hike or trip
- Train your eye to slow down and observe
Details invite viewers to pause — not just scroll.
2. Camera Settings for Close-Up Nature Shots
| Light Condition | Suggested Settings |
|---|---|
| Overcast forest | f/4 – 1/125s – ISO 400 |
| Bright morning | f/5.6 – 1/250s – ISO 100 |
| Macro subject | f/8 – 1/100s – ISO 200 (tripod if needed) |
Use manual focus for precision, and spot metering to expose the highlight area (like a wet leaf or fungus).
Beginner’s Guide to Macro Photography – PhotographyLife
3. What to Shoot: Nature’s Hidden Gallery
- Tree bark and lichen textures
- Dew drops on grass or spiderwebs
- Cracks in rocks, driftwood patterns
- Mushrooms and forest floor plants
- Footprints in mud or snow
Use a shallow depth of field (f/2.8–f/4) to create dreamy separation.
4. Creative Tips
- Use a wide aperture for abstract texture shots
- Change angles: shoot straight down, or side-light textures for contrast
- Include a human element like a hand touching bark or holding a pinecone
- Look for repetition (leaves, patterns, scales)
Recommended Gear (Not Just Macro)
- A macro lens (50mm to 100mm) is great — but not required
- Extension tubes or close-up filters offer a cheaper alternative
- A tripod helps stabilize for slower shots or higher detail
- Polarizing filter = removes glare from wet leaves or rocks
Practice Prompt
Next time you’re on a trail or in a park:
- Take a wide shot of the landscape
- Step closer and capture a detail
- Zoom all the way into a texture
- Tell a 3-photo story from that one scene
Inspiration: Discovering nature on slow hikes – LGPO
Final Thought
Don’t just walk through nature — study it, piece by piece.
The story is in the details… you just have to notice them.
Getting sharp focus when the subject is tiny
Close-up work fails for one reason more than any other: depth of field shrinks to a few millimeters. At f/4 on a mushroom you may get the cap in focus and nothing else. Start at f/8 to f/11 for real close-ups and accept that ISO will need to climb to 400 or 800 in a shaded forest. Pick a single autofocus point and place it on the most important edge, such as the rim of the cap or the nearest dew drop. With manual focus, set the distance roughly, then rock your body forward and back a few millimeters and press the shutter when the edge snaps in. Focus peaking on a mirrorless camera makes this much easier.
Wind is the second enemy. Leaves and grass move constantly, so keep the shutter at 1/250 s or faster whenever there is a breeze, and use 1/60 s or slower only on a tripod in still air. A cheap trick is to shield the subject with your body or a jacket for a few seconds. Bright sun creates harsh, blotchy highlights on wet surfaces, so a small diffuser or even a white t-shirt held between the sun and the subject gives soft, even light that shows texture instead of glare.
On the back of the camera, magnify the preview to 100 percent on your focus point before moving on. Check that the background is not full of bright, busy patches; if it is, move a step to the side so the subject sits against shadow or a distant, out-of-focus area. Also look at the edges of the frame for stray twigs and grass blades, which are far easier to avoid in the field than to remove later.
A one-square-meter exercise and a gentle edit
Mark out one square meter of forest floor, riverbank or garden and spend twenty minutes photographing only what is inside it. Aim for ten distinct images: a texture shot straight down, a low angle at eye level with a plant, a repeated pattern, a single isolated subject with a soft background, and something you noticed only after five minutes of looking. This constraint trains observation better than any lens.
In Lightroom, small subjects reward restraint. Pull Highlights down between -20 and -40 to hold detail in wet, shiny areas and lift Shadows +10 to +25 so the fine structure of bark or moss opens up. Texture is the slider that matters here: +10 to +25 makes lichen and wood grain pop without the crunchy halos that Clarity can add. In the HSL panel, lower the saturation of greens slightly and shift their hue a touch toward yellow if the scene looks artificially vivid. Use a radial mask around the subject with a small Exposure lift and a matching negative Exposure outside it to guide the eye, then try a square crop with the crop overlay to see whether the pattern reads more strongly.