
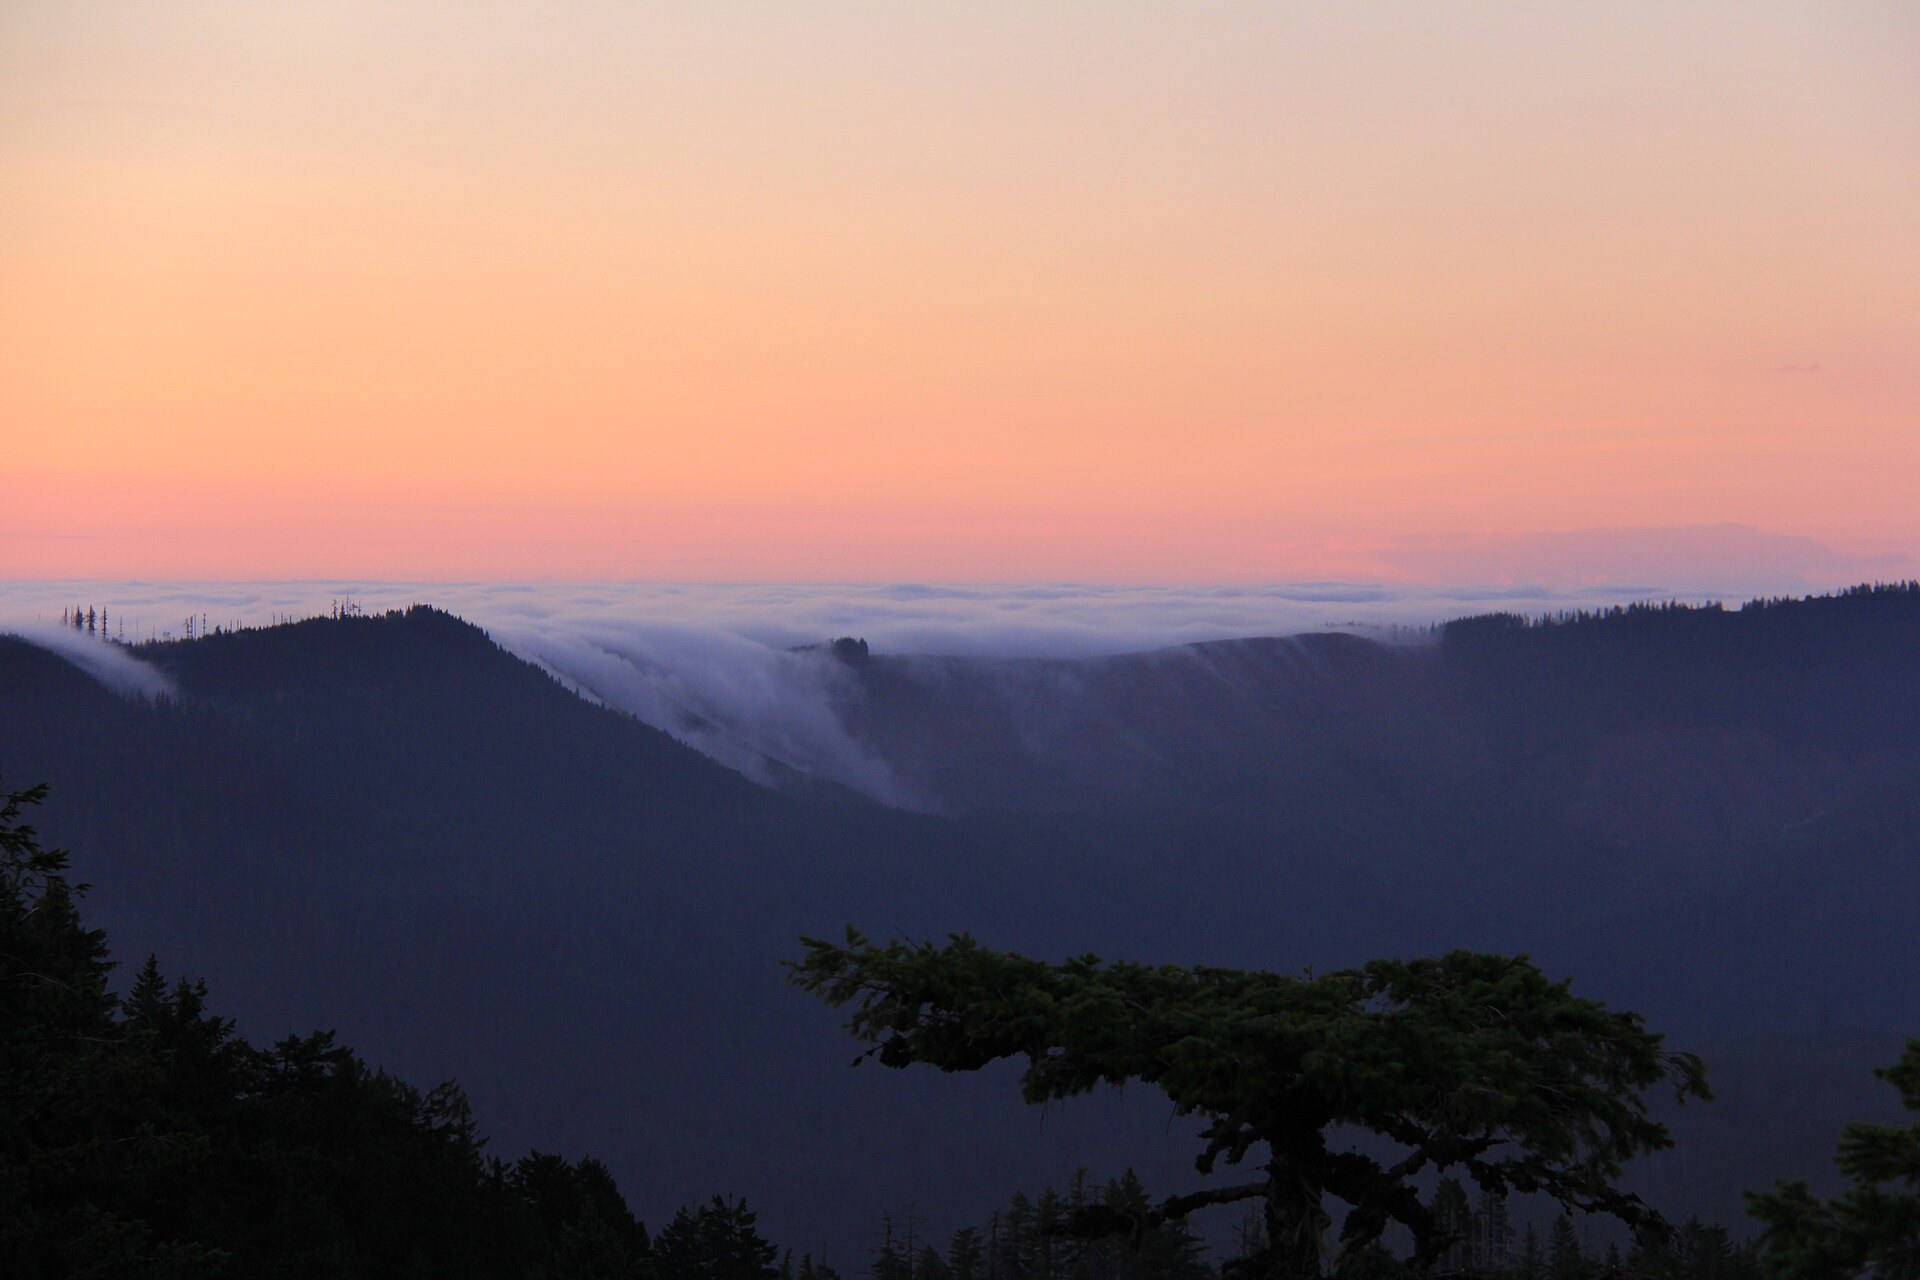
Keep it light, stay safe, and bring home stunning outdoor shots
Combining hiking and photography is one of the most rewarding ways to explore the outdoors.
But it also presents challenges: you need to carry your gear, move through unpredictable terrain, and adapt quickly to changing light.
Here’s how to hike with your camera — and come back with images worth printing.
1. Pack Smart (and Light)
When hiking, every gram matters. Focus on lightweight, essential gear:
- One camera, one lens: a wide-angle zoom (18–55mm or 24–70mm) is perfect
- Lightweight tripod or monopod if you plan for sunrise/sunset shots
- Extra battery and memory card
- Weather protection: lens cloth, rain cover, dry bag
Tip: Use a modular insert inside your hiking backpack to protect your gear without adding weight.
Learn more: Hiking Camera Gear Essentials – LGPO
2. Plan Your Light, Not Just Your Route
Don’t just map the trail — map the light.
- Use apps like PhotoPills or Sun Surveyor to plan for golden hour
- Think about where the sun will rise or set relative to your viewpoint
- Cloudy or foggy weather? Bring a lens hood and embrace the mood
Golden Hour Explained – Photography Life
3. Capture Scale and Perspective
A great outdoor shot tells a story. Add human elements to show the scale of nature:
- A friend standing on a ridge
- A hiker walking through the forest
- Your own shadow or feet in frame
Use a wide-angle lens (16–35mm or equivalent) and include foreground interest for depth.
4. Best Camera Settings for Hiking Shots
| Scene | Settings |
|---|---|
| Bright daylight | f/8 – 1/500s – ISO 100 |
| Forest shade | f/4 – 1/200s – ISO 400 |
| Golden hour | f/2.8 – 1/100s – ISO 800 |
| Trail selfies | Use timer or remote trigger with tripod |
If you’re moving fast, Aperture Priority (Av/A mode) is perfect for quick adjustments.
5. Embrace the Unexpected
Some of your best photos might happen:
- Just after it rains (reflections, dramatic light)
- In foggy valleys or with shifting shadows
- When wildlife crosses your path — always be ready!
Bring a sense of curiosity — not just gear.
Related Articles
- Best Travel Tripods for Beginners
- Composing with Natural Elements in Outdoor Photography
- Golden Hour vs Blue Hour: Light and Mood
A trail routine that keeps you shooting instead of unpacking
The camera you cannot reach is the camera you will not use. Carry it on a chest clip, a cross-body strap, or a side-access pocket so it is available in under five seconds, and keep a hood on the lens instead of a cap. Set the camera before you leave the trailhead: aperture priority at f/8-f/11 for landscapes, auto ISO capped at 1600 to 3200, minimum shutter speed set to 1/250 s so walking-pace shots stay sharp, and auto white balance. In deep forest, open to f/4-f/5.6 and accept ISO 800-1600 rather than a shutter speed below 1/125 s. Shoot RAW and enable the histogram in playback so you can judge exposure on the trail.
Build a rhythm: stop at every change of light or terrain, not every fifty metres. Look back down the trail as often as forward, because the view behind you is lit differently. When the group is moving, shoot wide first, then one detail, then move on; three frames in thirty seconds is enough. Save the tripod for sunrise, sunset, water, and any frame you know you want to print.
On the back of the camera, check the histogram for a right-edge spike on bright sky and a left-edge wall in shadows; if both appear at once, bracket three frames at -1, 0, and +1 stop. Zoom to 100 percent on the foreground rock or hiker to confirm focus, and glance at the level indicator, because tilted horizons are the most common trail mistake.
Mistakes to fix and a quick edit back at camp
Beginners tend to shoot only from eye level while standing on the trail. Kneel to put wildflowers or a stream in the foreground, or climb a rock for a layered view. They also underexpose forests: the meter sees dark trunks and brightens the scene, so dial -0.3 to -0.7 exposure compensation to keep the mood, then lift shadows later. A dirty front element after a dusty section ruins every shot into the light; wipe it at each break. And a wide lens at 16 mm without a foreground subject produces empty, tiny mountains; step closer to something interesting.
In Lightroom, one preset-free routine covers most trail photos. Pull Highlights to -40 or -60 to restore the sky, lift Shadows +20 to +40 for the forest floor, then set Whites and Blacks so the histogram touches both edges lightly. Add Dehaze +10 for distant ridges that look milky, and use a Select Sky mask with Exposure -0.3 and a touch of blue in Temperature. In the HSL panel, nudge Green Luminance down 10 points and Green Hue toward yellow for natural foliage. Finish with a light Vignette of -10 or less.
Field exercise: on your next hike, pick one subject such as a trail marker, a tree, or your partner, and photograph it ten different ways in ten minutes: high, low, wide, tight, backlit, front lit, with and without the trail in frame. Review at home and note which three you would keep.
Final Thought
Hiking photography isn’t about chasing perfection — it’s about slowing down, observing, and connecting with the world through your lens.
Travel light. Stay open. Shoot often.