
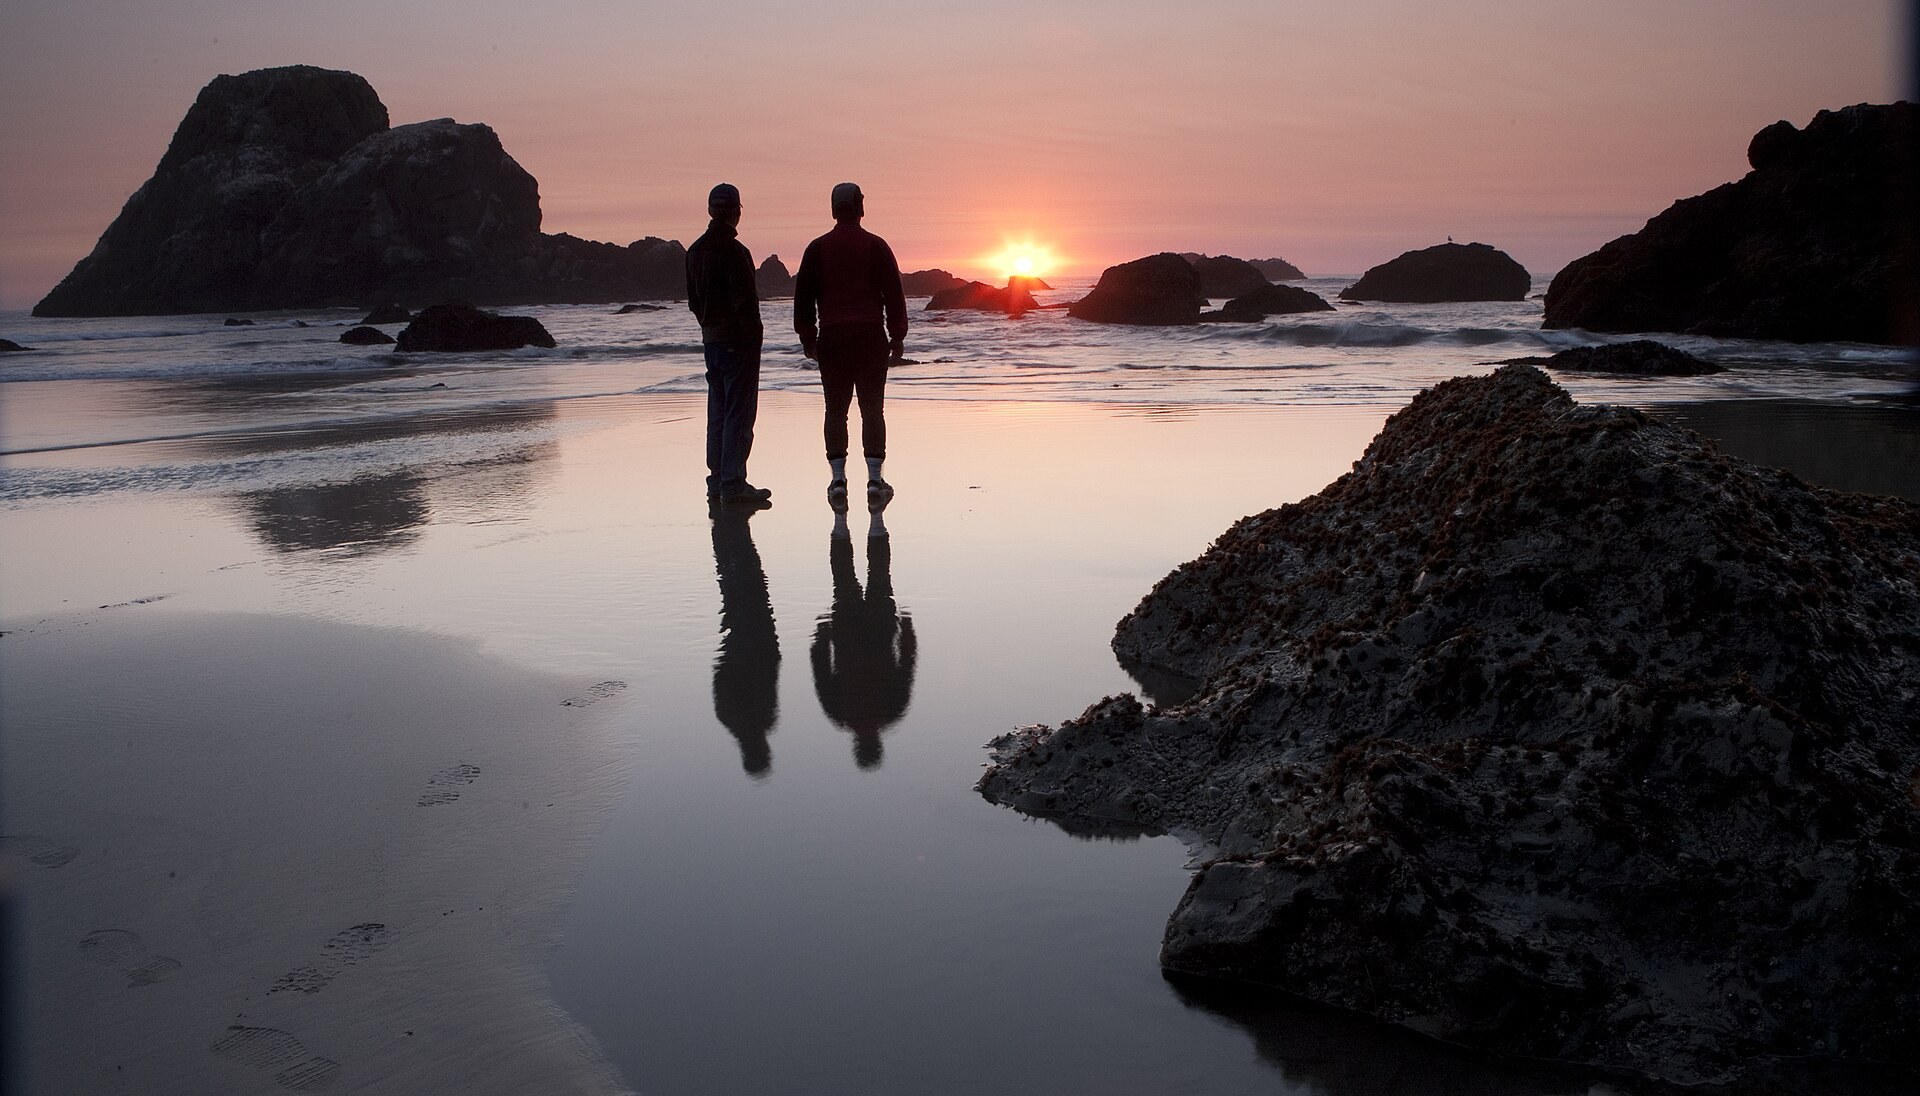
Master the two most magical times of the day for outdoor photography
Some of the most stunning landscape and portrait photos are taken just after sunrise or just before nightfall.
These moments — known as the Golden Hour and the Blue Hour — provide soft, colorful light that can transform even the simplest scene.
But when exactly do they happen? And how can you take full advantage of both?
Let’s break it down.
What Is the Golden Hour?
The Golden Hour occurs roughly:
- One hour after sunrise
- One hour before sunset
It’s when the sun is low on the horizon, casting warm, golden light with long, soft shadows.
Why it’s great for photography:
- Warm tones add mood and texture
- Side light reveals depth and detail
- Ideal for portraits, landscapes, and macro photography
Pro tip: Use the shadows as part of your composition.
Suggested settings:
f/5.6 – 1/200s – ISO 100 (adjust as light fades)
What Is the Blue Hour?
The Blue Hour happens just before sunrise and after sunset, when the sun is below the horizon, but there’s still ambient light.
The result?
Cool, soft tones with deep blues and purples, and often a calm, dreamy atmosphere.
Why photographers love it:
- Balanced exposure between land and sky
- Urban lights and nature blend beautifully
- Perfect for cityscapes, waterscapes, reflections, and mood shots
Suggested settings:
f/4 – 1/30s – ISO 400 (use a tripod or stabilize camera)
Learn More: Shooting During Blue Hour – B&H Explora
When Exactly Do They Happen?
Use free apps or websites like:
These tools show exact times and sun angles based on your location and date.
What Gear Helps?
- Tripod: Especially for blue hour low-light
- Wide-angle lens: For sweeping skies and foregrounds
- ND filters: For long exposures of clouds or water
- Remote shutter or timer: To avoid camera shake
Shooting Tips for Both Hours
| Tip | Why It Works |
|---|---|
| Arrive 30 min early | Set up and adjust without stress |
| Bracket your exposures | Useful for blending highlights + shadows |
| Shoot RAW | Maximum flexibility in editing |
| Look behind you | Sometimes the best light isn’t where the sun is |
Related: Hiking and Sunrise Photography Tips – LGPO
Final Thought
The Golden Hour warms. The Blue Hour calms.
Mastering both gives you the power to shape the mood — before and after the sun even appears.
A shot-by-shot plan from golden hour into blue hour
The light changes faster than beginners expect, so follow a timed sequence rather than reacting. Arrive forty-five minutes before sunset with the tripod set up and a composition chosen. Shoot in RAW, set white balance to Daylight rather than Auto so the warmth stays consistent between frames, and turn on the highlight warning in playback.
From forty-five to twenty minutes before sunset, work handheld in Aperture Priority at f/8 to f/11, ISO 100 to 200, with the sun to your side for long shadows. Shutter speeds will sit around 1/250 s to 1/500 s. Check the rear screen for blinking highlights on bright rock or sand and dial in minus one third of a stop if they appear. In the last twenty minutes, turn toward the sun for backlit grass; expose for the sky and bracket three frames at one-stop intervals.
At sunset, move onto the tripod, switch to Manual, keep ISO 100 and f/8, and lengthen the shutter as the light drops: expect 1/60 s at sunset, 1 s fifteen minutes later, and 4 to 15 s deep in blue hour. Use the two-second self-timer or a remote so you never touch the camera during the exposure, and switch off lens stabilisation on the tripod, since some systems add blur when correcting movement that is not there. Autofocus will hunt once the light fades; focus on a bright edge while you can, then switch the lens to manual focus.
Editing golden and blue hour files so they still look real
Golden hour files usually come out slightly too orange and too dark in the shadows. In Lightroom, start with Temp: if you shot on Daylight white balance, leave it or cool it by 200 to 300 kelvin rather than warming it further. Set Highlights between -30 and -50 to keep colour in the sky, Shadows between +20 and +40, and Vibrance at +10 to +20. In HSL, reduce Orange saturation by 10 to 15 if faces and rocks look sunburnt, and nudge Yellow hue toward orange for richer grass.
Blue hour files have the opposite problem: they look muddy because the camera guessed a warm white balance. Push Temp down to 3800 to 4500 kelvin until the sky reads clean blue, add a little Tint toward magenta if street lights have turned the scene green, and keep Dehaze at +5 to +10, or the sky will band. Use a Linear Gradient from the top with Exposure -0.3 to hold the sky, and one from the bottom with Shadows +30 to open the land.
Two mistakes to check at 100 percent: speckled shadow noise from ISO 1600 or above when a tripod would have allowed ISO 100, and soft frames from wind shaking the tripod during long exposures. Hang your bag from the centre column, shield the camera with your body, and take each long exposure twice. Compare the pair before you leave; that light will not return until tomorrow.