
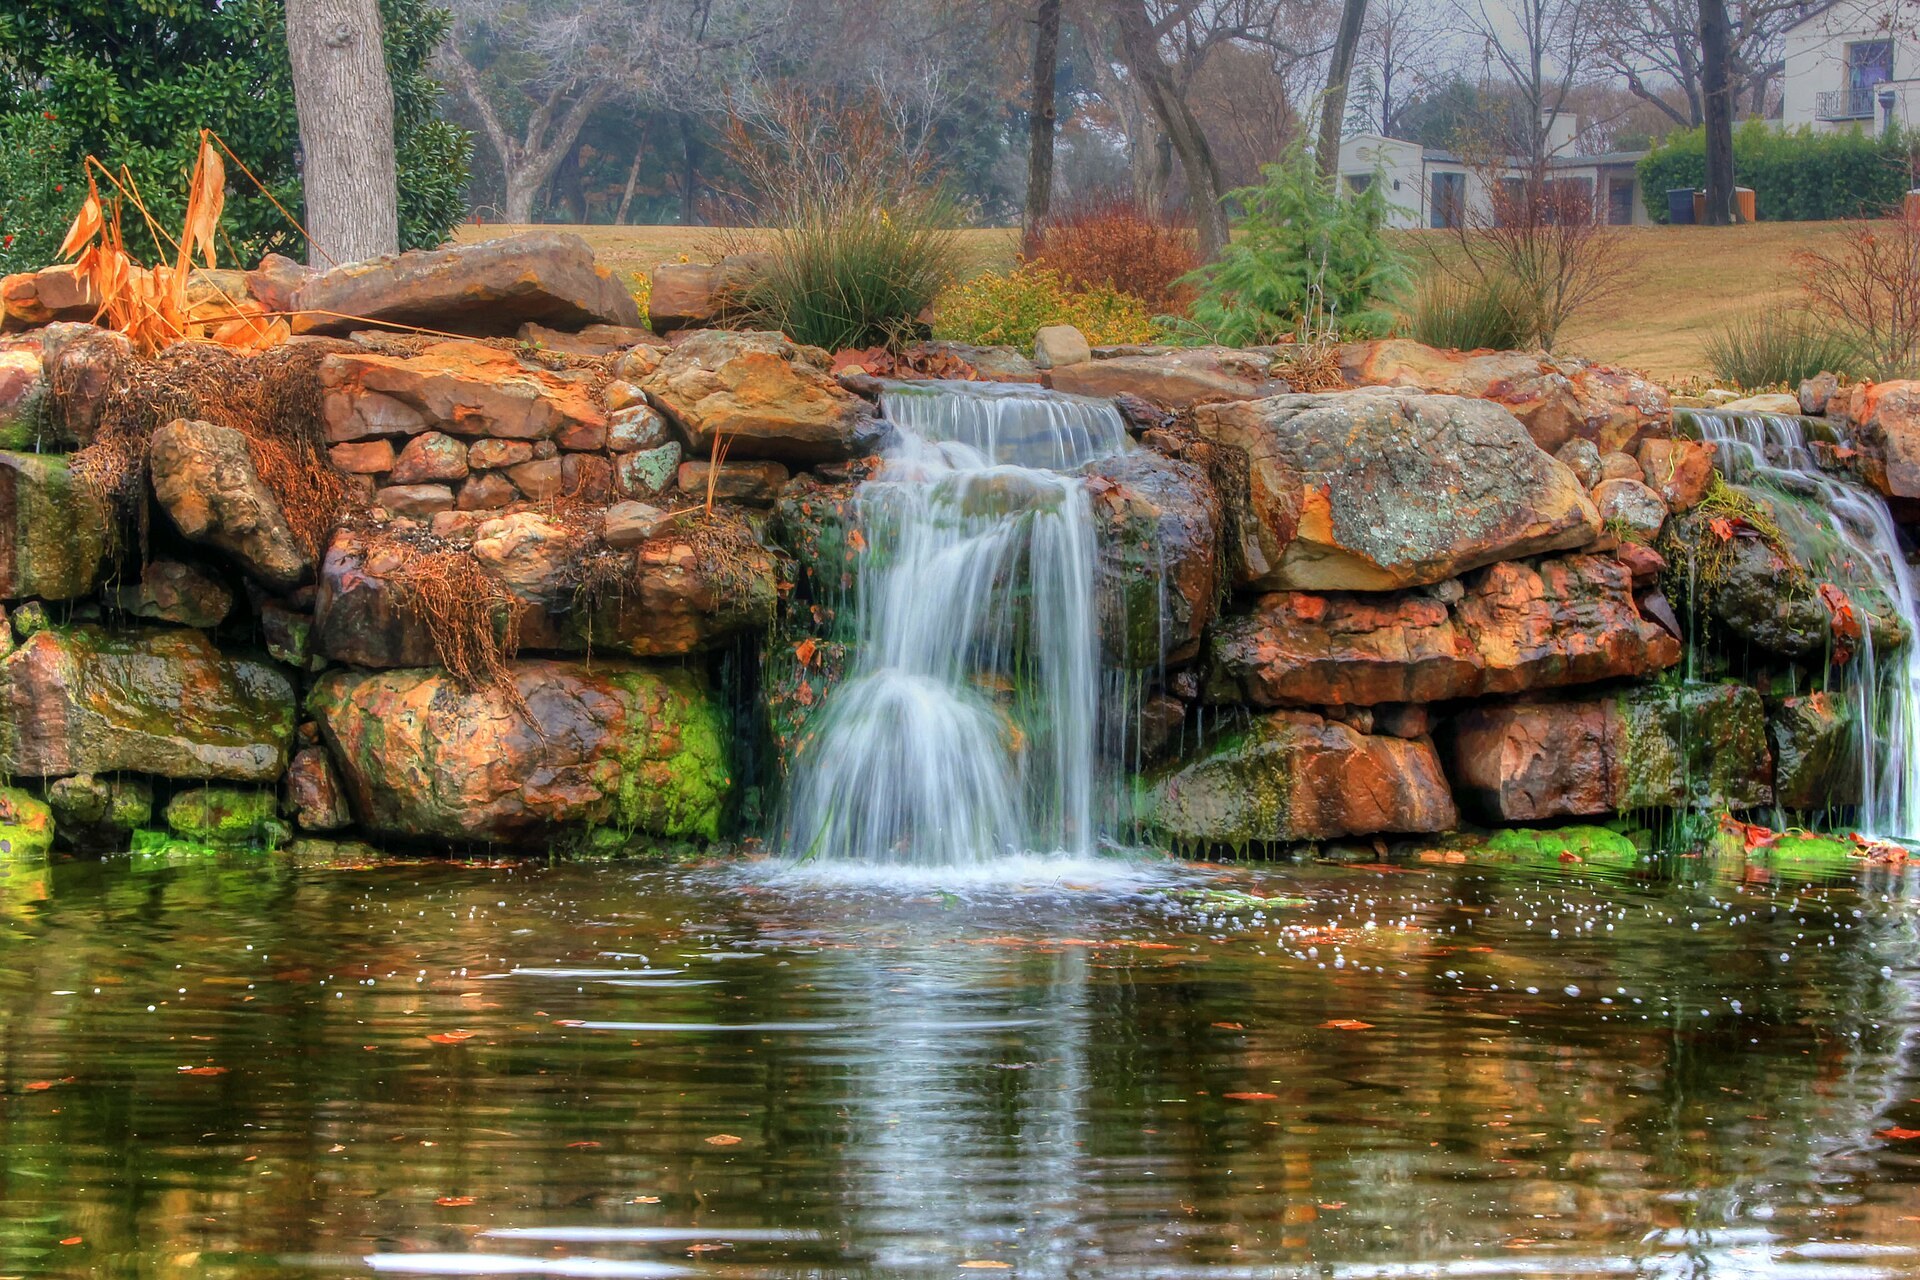
Turn movement into magic with slow shutter creativity
Ever seen a photo where water looks silky smooth, clouds stretch across the sky, or a city glows with light trails?
That’s the result of long exposure photography — a technique that uses slow shutter speeds to capture motion over time.
It’s easier than you think. Let’s break it down step by step.
What Is Long Exposure?
In long exposure, your camera’s shutter stays open for more than 1 second — sometimes much longer.
This allows moving elements to blur or streak, while stationary objects remain sharp.
Common uses:
- Waterfalls or rivers with silky flow
- Star trails or night skies
- Traffic light trails
- Cloud movement in landscapes
Best Subjects for Long Exposure Outdoors
| Subject | Why It Works |
|---|---|
| Water (oceans, rivers) | Creates smooth, dreamy effect |
| Clouds | Adds movement to static landscapes |
| Stars | Tracks the Earth’s rotation |
| City lights | Produces colorful trails from cars and signs |
| People | Can disappear from scene if moving fast enough |
Inspiration: Long Exposure Nature Photography on Flickr
Essential Gear
- Tripod – Keeps your camera absolutely still
- Remote shutter / 2s timer – Avoids shake when pressing the button
- ND filter (Neutral Density) – Reduces light for longer exposures in daylight
- Mirrorless or DSLR camera – With manual control (M mode or Bulb)
Optional: Intervalometer for star trails or time-lapse
Camera Settings (Starting Point)
| Scene | Settings |
|---|---|
| Waterfall in shade | f/11 – 1s – ISO 100 |
| Clouds with ND filter | f/8 – 30s – ISO 100 |
| Night traffic | f/11 – 15s – ISO 200 |
| Star trails | f/2.8 – 20s – ISO 1600 (repeated shots) |
Use Manual Mode and shoot in RAW for better control during editing.
Tips for Success
- Use manual focus before shooting
- Check your histogram — avoid overexposed highlights
- Cover your viewfinder (on DSLR) to prevent light leaks
- Use Live View zoom to fine-tune your composition and focus
How to Choose the Right ND Filter – B&H Guide
Creative Ideas to Try
- Photograph a busy street and let moving people vanish
- Use long exposure during blue hour with reflections
- Try intentional camera movement (ICM) for abstract shots
- Shoot moving clouds over a mountain or lighthouse for dramatic sky
Related: LetsGoPlayOutside – Quiet trails with epic skies
Final Thought
Long exposure transforms time into art.
It reveals the movement your eyes can’t see — but your camera can capture.
Working out the exposure with an ND filter
The settings table gives you starting points, but the real skill is converting a normal exposure into a long one. Compose and focus with no filter on the lens. Set Manual mode, ISO 100 and f/8 to f/11, then adjust the shutter speed until the histogram sits comfortably in the middle. That shutter speed is your base exposure. Switch the lens to manual focus so the camera cannot hunt once the view goes dark, then fit the ND filter.
Every stop of ND doubles the exposure time. A 3-stop filter turns 1/30 s into 1/4 s, enough to soften a stream. A 6-stop filter turns 1/30 s into 2 s, which smooths a waterfall and starts to drag clouds. A 10-stop filter turns 1/30 s into about 30 s, the point where waves become mist and walking people disappear. Anything beyond 30 s means Bulb mode with a remote release, and a phone app will do the doubling for you.
The usual mistakes are easy to catch on the back of the camera. Zoom to 100 percent on a fixed element such as a rock or a post: if it is soft, the tripod moved, so retract the center column, hang your bag from the hook and switch off lens or body stabilization, which can drift on a tripod. If the frame looks flat and hazy, light leaked through the viewfinder or the filter added a cast; most dense NDs push slightly warm or magenta, which you will fix later. Read the histogram after every shot rather than trusting the preview, and turn on the highlight warning so blown water shows up immediately.
A field exercise and the editing that follows
Find a stream, a shoreline or a fountain and shoot the same composition at four shutter speeds: 1/125 s, 1/2 s, 4 s and 30 s. Keep f/11 and ISO 100 and add ND as needed. Compare the frames at home. Most beginners discover that the longest exposure is not always the best one: 1/2 s to 2 s keeps some texture in falling water, while 15 s or more gives a milky, minimal look. Decide which mood you wanted before deciding which frame you keep.
In Lightroom, start with White Balance to remove the filter cast, then work the tonal sliders in order: Exposure, Highlights down to recover bright water, Shadows up a little for the rocks, then Whites and Blacks until the histogram touches both ends without clipping. A touch of Dehaze, between +5 and +15, restores the contrast that dense filters remove. Paint a mask on the water and pull Texture and Clarity down slightly for a smoother flow, then a second mask on the foreground with Texture up so the rocks stay crisp.
- Hot pixels on exposures over 20 s: enable long exposure noise reduction or heal them out.
- Banding in smooth water or sky: keep sharpening and Clarity low on those areas and export at high quality.
- Tilted horizon: use the crop overlay with the level tool before any other adjustment.