
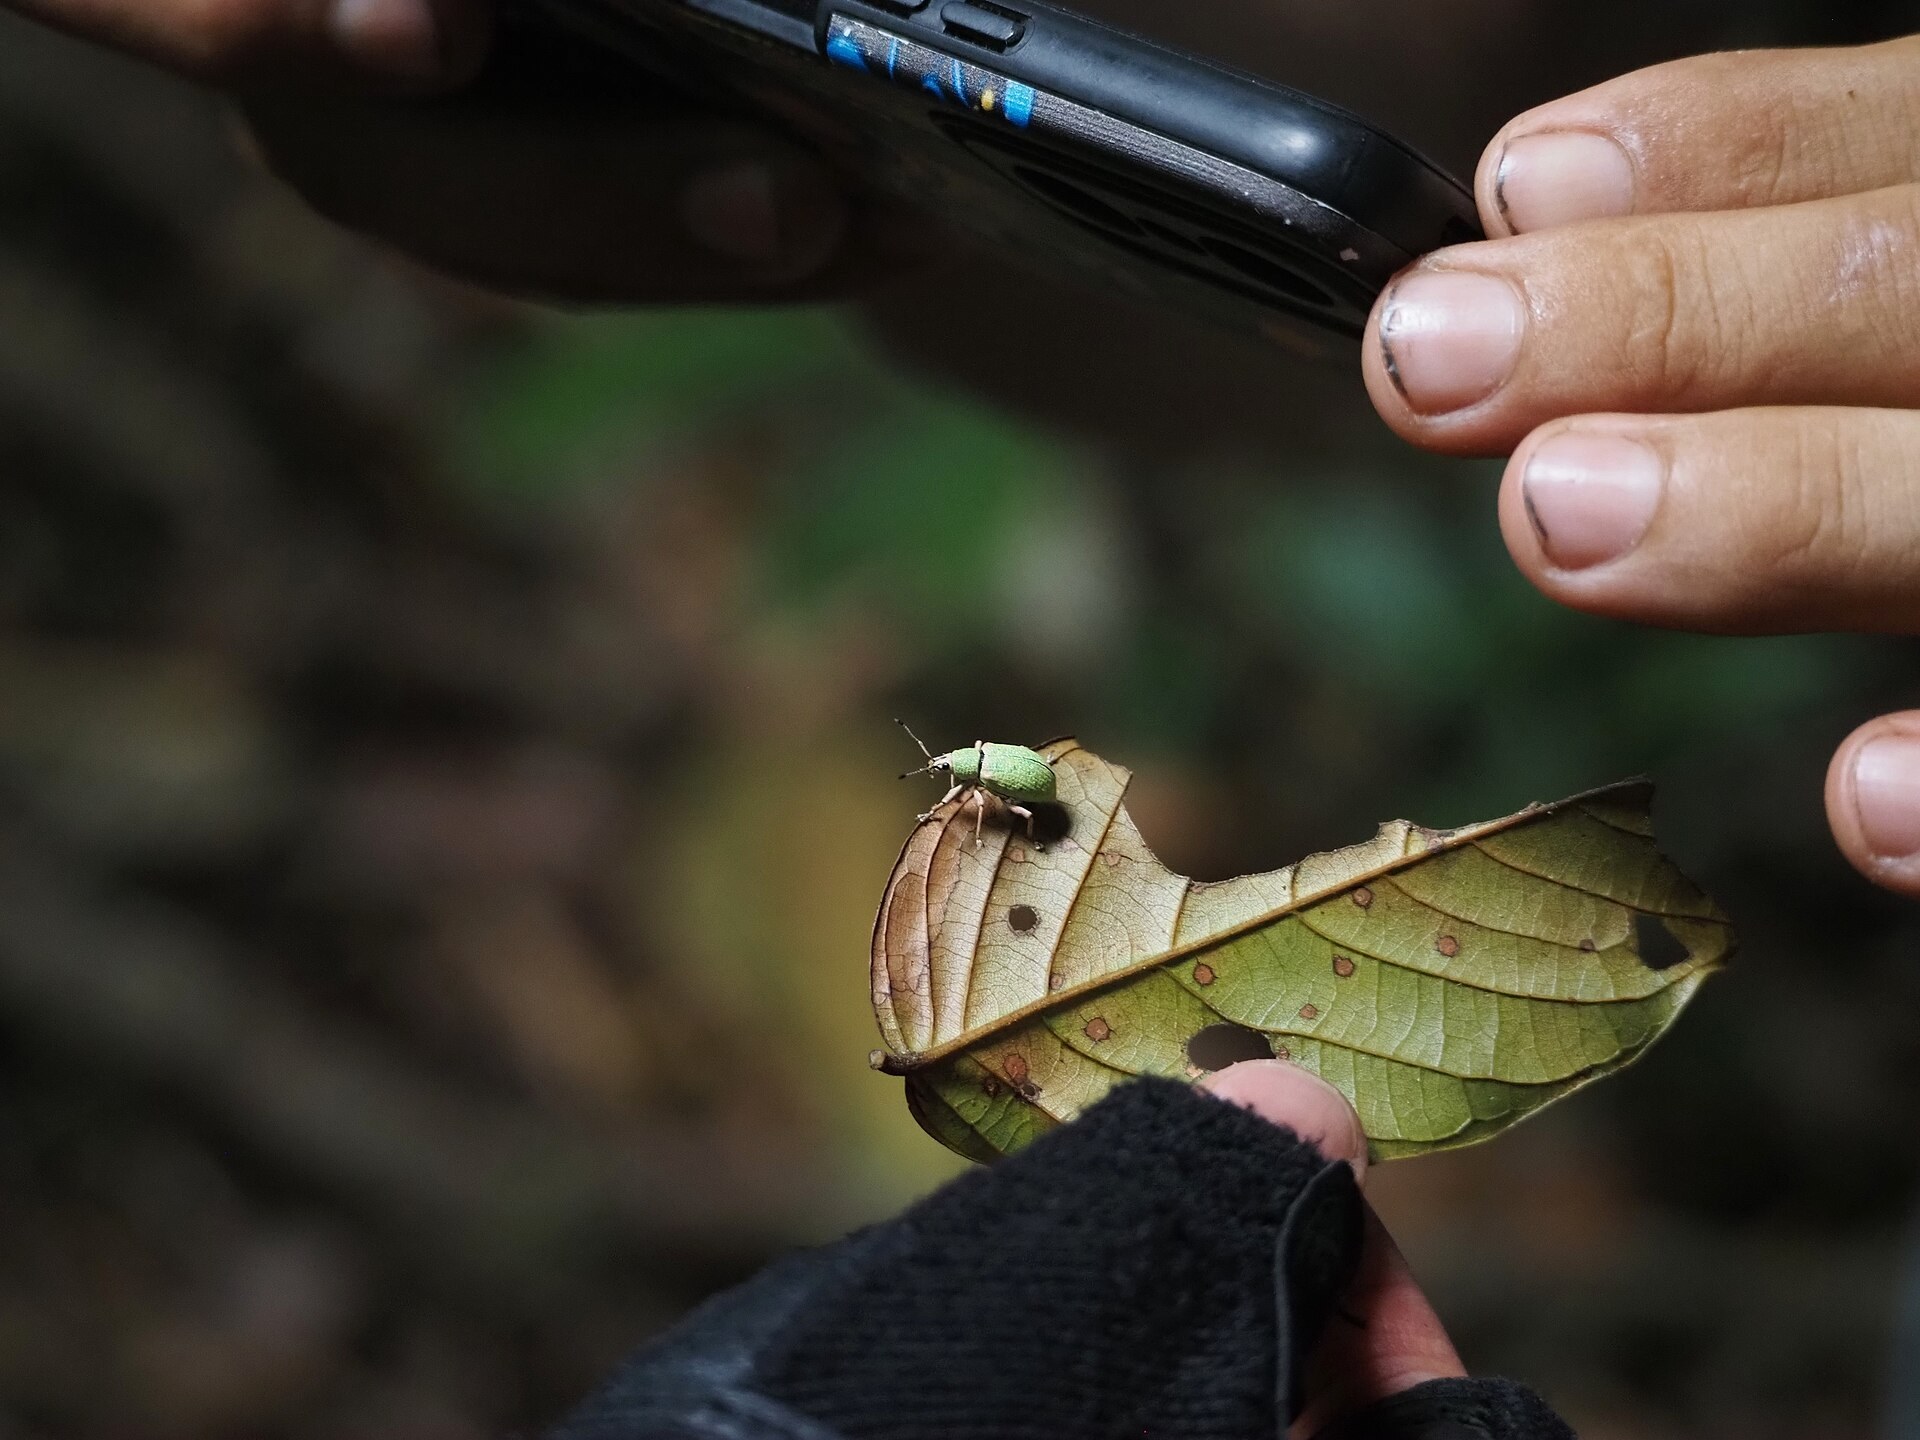
Professional-looking edits, right from your phone
You don’t need a computer to create beautiful photo edits.
With today’s apps like Lightroom Mobile and Snapseed, you can enhance your outdoor photos — anytime, anywhere.
Here’s a step-by-step guide to editing on mobile, whether you’re a casual Instagrammer or a serious outdoor shooter.
Recommended Apps
| App | Strengths | Platform |
|---|---|---|
| Lightroom Mobile | RAW editing, cloud sync, professional tools | iOS & Android |
| Snapseed | Easy to use, powerful local tools, free | iOS & Android |
| VSCO | Stylish presets, fast edits | iOS & Android |
| Darkroom | iOS-only, intuitive and color-focused | iOS only |
For this guide, we’ll focus on Lightroom Mobile and Snapseed, both free and powerful.
Step-by-Step: Lightroom Mobile
1. Import Your Photo
- Open Lightroom → tap the “+” icon
- Choose from your phone gallery or cloud library
2. Basic Adjustments
- Light: Exposure, contrast, highlights, shadows
- Color: White balance, vibrance, saturation
- Effects: Texture, clarity, dehaze
Same structure as Lightroom desktop, but touch-optimized.
3. Selective Tools
- Tap the Masking icon → Brush / Linear / Radial tools
- Brighten a subject, darken the sky, or add clarity to a trail
4. Presets
- Use Adobe’s presets or import your own
- Tap once to apply, adjust manually if needed
5. Export
- Tap “Share” → Export to Camera Roll or post to Instagram
- Choose JPG / resolution / watermark options
Step-by-Step: Snapseed (Free & Powerful)
1. Open Image
- Tap the “+” icon → Select photo from gallery
2. Tools to Use
| Tool | Use |
|---|---|
| Tune Image | Exposure, contrast, saturation, warmth |
| Details | Sharpening and structure |
| Curves | Adjust tones precisely |
| White Balance | Manual control with eyedropper |
| Selective | Adjust exposure/color in specific zones |
| Brush | Lighten/darken small areas manually |
| Healing | Remove small distractions (like people or poles) |
Snapseed is ideal for quick, efficient edits without overprocessing.
3. Export Options
- Save to device
- Export a copy
- Share to social media instantly
Tips for Better Mobile Edits
- Always straighten the horizon (crop tool)
- Use Vibrance instead of Saturation to avoid fake colors
- Avoid over-sharpening — phone screens can trick your eye
- Compare before/after often (hold photo to preview original in both apps)
Practice Exercise
- Choose one photo from a hike or outdoor walk
- Edit it in Lightroom Mobile
- Then re-edit it in Snapseed
- Compare results: Which workflow feels better for your style?
Final Thought
Your best editing tool is already in your pocket.
With the right approach, your phone can become your field-darkroom.
A repeatable ten-minute mobile edit
The order matters as much as the app. Start every edit with the crop tool, straighten the horizon, and decide on the final frame before you touch a single slider. In Lightroom Mobile, open the Light panel next and set Exposure so the midtones look right, usually within -0.5 to +0.5 on a well-exposed hike photo. Then pull Highlights down (-30 to -60) to bring back sky detail and lift Shadows (+20 to +40) to open the trees and trail. Leave Whites and Blacks for last: drag Whites up until the brightest snow or cloud just stops clipping, and drag Blacks down until the deepest shadow has some weight.
Move to the Color panel only after the tones are set. Adjust Temp in small steps of 200 to 400 K, add Vibrance between +10 and +25, and keep Saturation at zero or a touch below. In the Effects panel, Texture (+10 to +20) sharpens fine bark and rock, Clarity (+5 to +15) adds punch to midtones, and Dehaze (+5 to +15) cuts through haze on distant ridges. Finish with a Masking layer: a Linear gradient pulled down from the top of the frame with Exposure at -0.3 to -0.7 darkens a pale sky, and a Radial mask with +0.3 Exposure on the subject draws the eye.
In Snapseed, the same sequence looks like this: Crop, then Tune Image (Brightness, Ambiance, Highlights, Shadows), then White Balance with the eyedropper on a grey rock, then Curves with a gentle S shape, and finally Selective to brighten or darken one zone at a time. Use Healing last, once the tones are locked, so the cloned patch matches its surroundings.
Mistakes a phone screen hides and how to check for them
A bright, saturated phone display flatters every image, which is exactly why mobile edits often look overcooked on a computer or in print. The most common errors are the same in both apps: shadows lifted until the image looks grey and flat, Clarity or Structure pushed until halos appear along ridgelines, and a sky darkened so hard that a visible band forms above the horizon. Fix the first by lowering Blacks after lifting Shadows, the second by zooming to 100 percent and keeping Sharpening under 40 and Structure under +15, and the third by lowering the mask’s Exposure and softening the gradient edge.
Before exporting, do three checks. Set screen brightness to about half, not maximum, because auto-brightness outdoors will trick you into underexposing. Turn the phone away from direct sun and compare the edit against the original with the long-press preview. Then check the export settings: JPG, the largest available size, and 90 to 100 percent quality.
- Field exercise: on your next walk, shoot the same scene in RAW and JPEG, edit both in Lightroom Mobile using the sequence above, and export at full size. Look at the pair on a laptop: the RAW file should keep more sky and shadow detail, and you will quickly see which sliders you pushed too far on the small screen.