
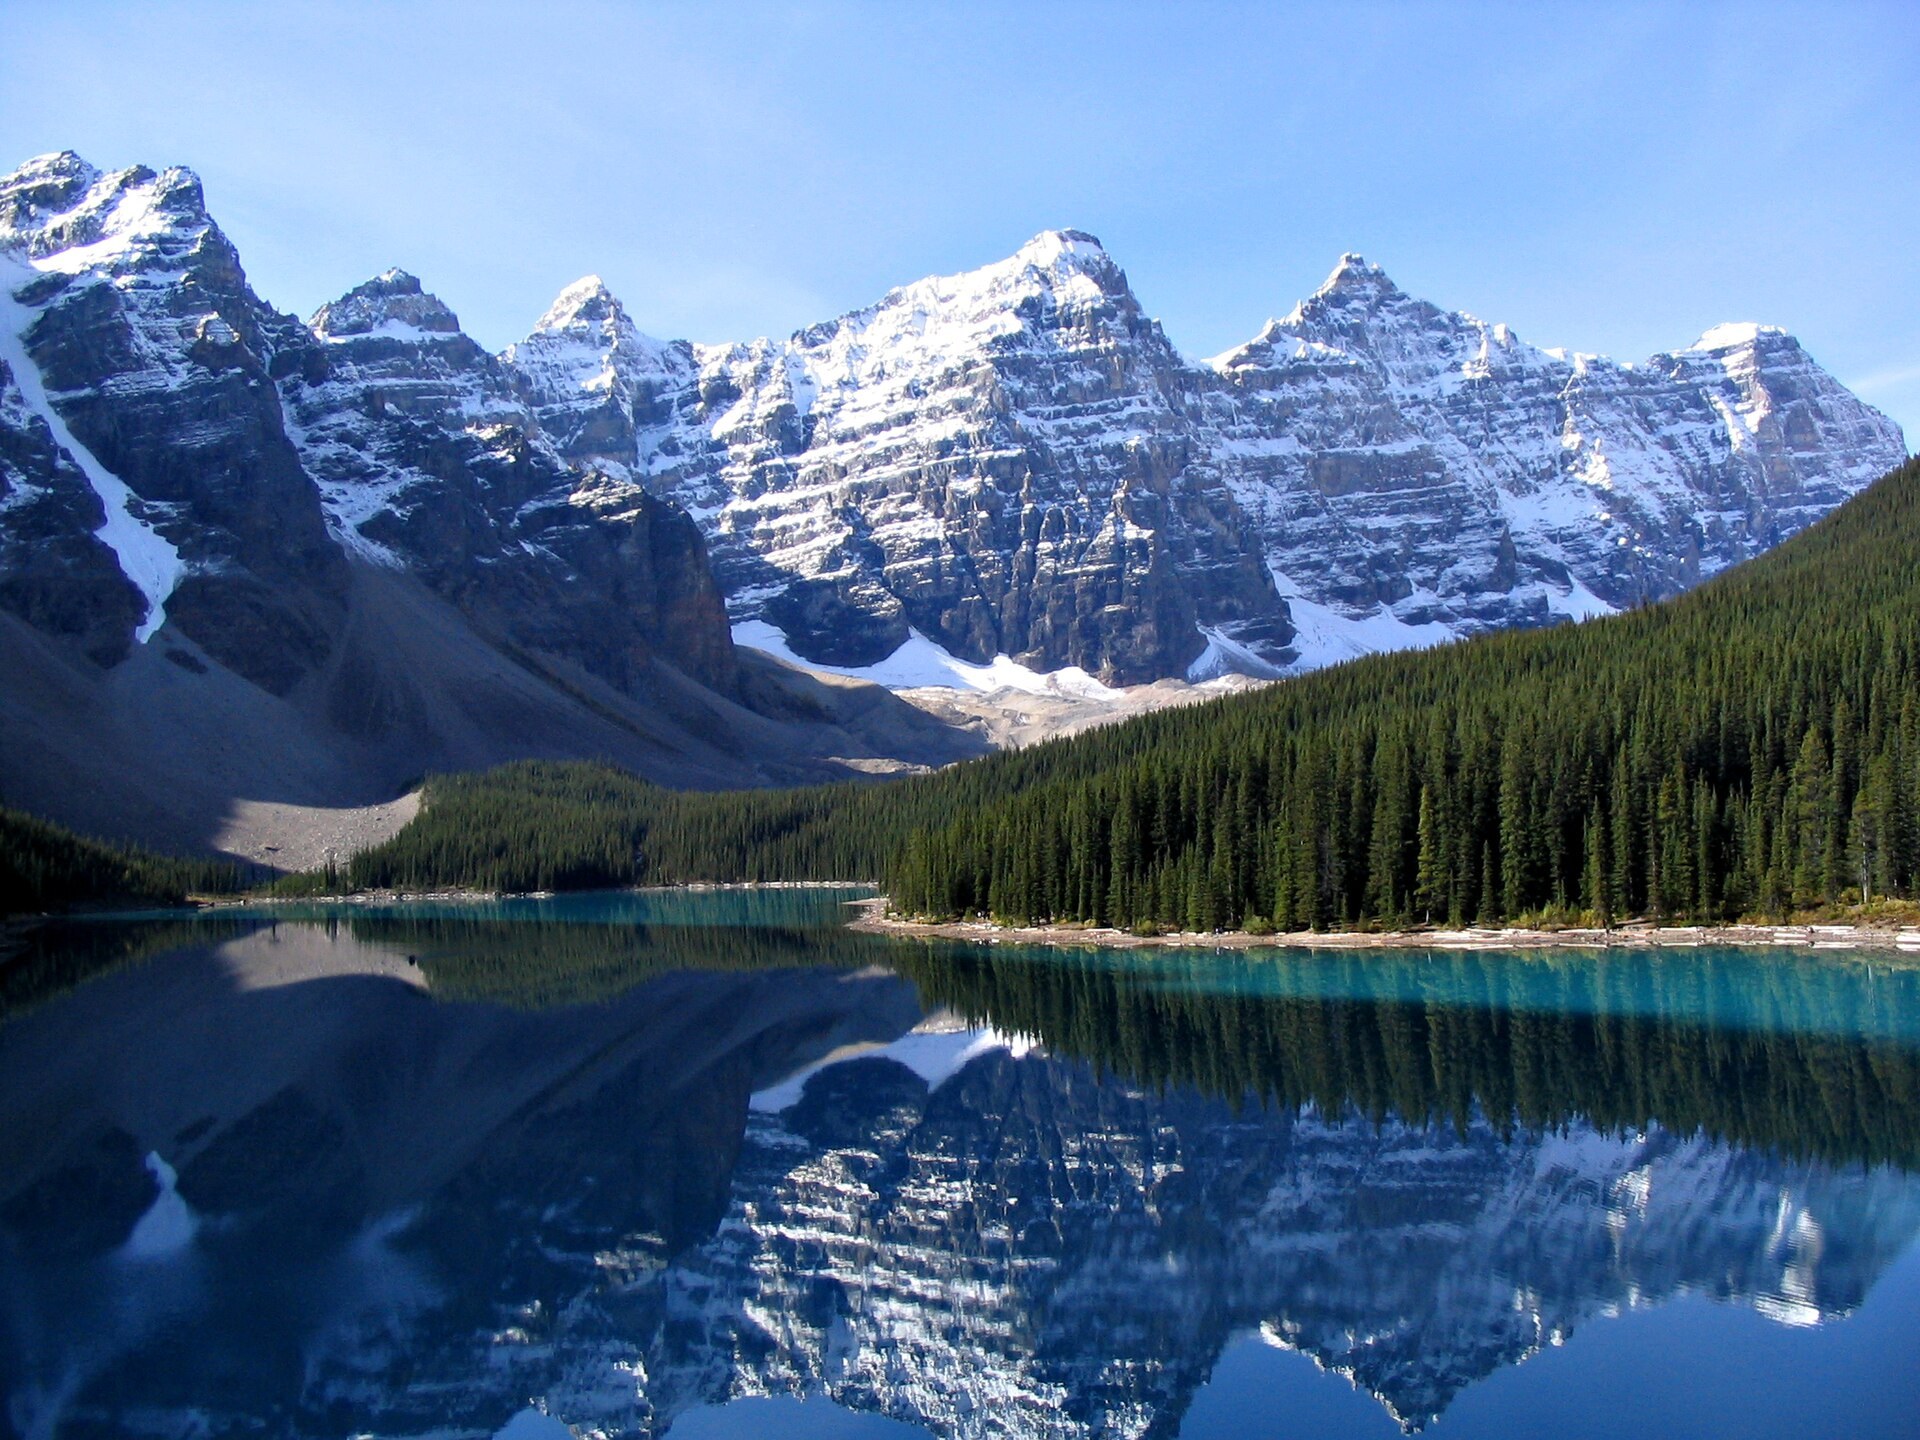
From dull to dramatic — step-by-step editing for outdoor scenes
When you first open a RAW file, it may feel… underwhelming.
The sky is pale, the colors are muted, and the scene looks nothing like what you saw.
That’s normal — RAW files are intentionally flat, designed to preserve dynamic range and detail.
The magic happens in post-processing.
Let’s walk through how to bring a flat outdoor image to life, step by step.
Step 1 – Choose a Strong Base Image
Pick a photo with:
- Good composition and light, even if flat
- Clear subject (mountain, trail, tree, lake, etc.)
- A well-exposed histogram (no blown highlights or clipped shadows)
Don’t worry about color yet — we’ll build that gradually.
Step 2 – Fix the Basics (Light Panel in Lightroom)
Start with these global adjustments:
| Setting | Typical Values | What It Does |
|---|---|---|
| Exposure | +0.3 to +0.5 | Adds brightness to flat RAW |
| Contrast | +10 to +25 | Brings depth to tones |
| Highlights | -30 to -60 | Recovers sky detail |
| Shadows | +30 to +60 | Reveals details in trees/rocks |
| Whites / Blacks | Use Alt-drag to set true points |
Goal: A balanced exposure where detail is visible across the image.
Step 3 – Correct and Enhance Color
- White Balance: Adjust Temp & Tint to match the feeling (warmer = golden hour, cooler = alpine)
- Vibrance: +20 to +40 to boost soft color
- Saturation: Be subtle — use only if necessary
Optional: Use Tone Curve to gently increase midtone contrast or add lift to shadows.
Step 4 – Use HSL Panel for Targeted Color Work
| Color | Adjustment |
|---|---|
| Greens | Shift Hue toward true green, reduce Saturation if too neon |
| Blues | Lower Luminance to deepen the sky, increase Saturation slightly |
| Yellows | Boost Saturation in fall scenes or golden grass |
The HSL panel is your secret weapon for outdoor color balance.
Step 5 – Add Local Enhancements
Use Lightroom masks (Linear, Radial, Brush) for more control:
- Sky: Lower exposure, increase contrast
- Foreground trail: Add clarity or texture
- Subject (hiker, tree): Increase exposure or sharpness to draw the eye
Optional: Add a slight vignette or use the Radial Filter to create a spotlight effect.
Before vs After Mindset
Don’t just edit blindly — compare before and after frequently.
Ask yourself:
- Does the image feel closer to what I experienced?
- Did I preserve natural light and mood?
- Did I guide the viewer’s attention?
Bonus: Export two versions (flat vs final) and study how your changes affect mood and storytelling.
Final Thought
RAW files are like uncut stone.
Editing isn’t cheating — it’s sculpting your vision out of what the sensor captured.
Finish the edit with lens corrections, detail and masks that hold
Once the Basic panel and HSL are in place, three panels lower down decide whether the landscape looks polished or merely brighter. Start in Lens Corrections: enable the profile for your lens and remove chromatic aberration, then check the corners, because the profile lifts the vignette and may reveal noise you did not see before. In Transform, use Level to fix a tilted horizon, a common problem on trails where nothing is truly flat.
Then open the Detail panel. For a base ISO file, sharpening at Amount 40 to 60, Radius 1.0 and Detail 25 is a safe starting point. Hold Alt while dragging the Masking slider until only the edges of rocks, trees and ridgelines show white; a value between 40 and 70 keeps smooth sky and water free of grit. For files shot at ISO 800 or above, set Luminance noise reduction to 15 to 30 and stop there, since higher values smear foliage into plastic.
Now build masks that survive close inspection. Use Select Sky, then lower Exposure by 0.3 to 0.7 and add Dehaze from +5 to +15 inside that mask only. Create a Linear Gradient from the bottom of the frame and raise Shadows +20 and Texture +15 to bring the foreground forward. If a mask spills onto the treeline, click Subtract, choose Luminance Range, and drag the range so the bright sky is kept and the darker trees drop out. That step removes the glowing outline that betrays most amateur sky edits.
Mistakes that make a landscape edit fall apart
The first is treating the flat RAW as a licence to push every slider. Shadows at +80 with Highlights at -100 flattens the tonal range you were trying to sculpt. Quick test: hide the Basic panel edits with the eye icon and compare. If the edited version has less depth than the original, pull Shadows and Highlights back to half their values and use the Tone Curve instead, adding a gentle S with one point near 25 percent pulled down by 5 to 8 and one near 75 percent lifted by the same amount.
The second is banding in a blue sky, the visible steps of colour that appear after heavy Dehaze or strong Blue luminance changes. Zoom to 100 percent on a clear patch of sky; if you see stripes, reduce Dehaze, then add Grain at Amount 10 to 15 with a Size of 25, which hides the steps without looking like film.
Field exercise for next time: bracket three frames at minus one, zero and plus one stop, with the camera on a tripod at f/8 to f/11, ISO 100, and process the zero frame first. Only if the sky is still clipped after Highlights at -60 should you merge the bracket with Photo Merge to HDR. Editing the single frame first teaches you how much dynamic range a modern RAW holds, and it is usually more than enough.