
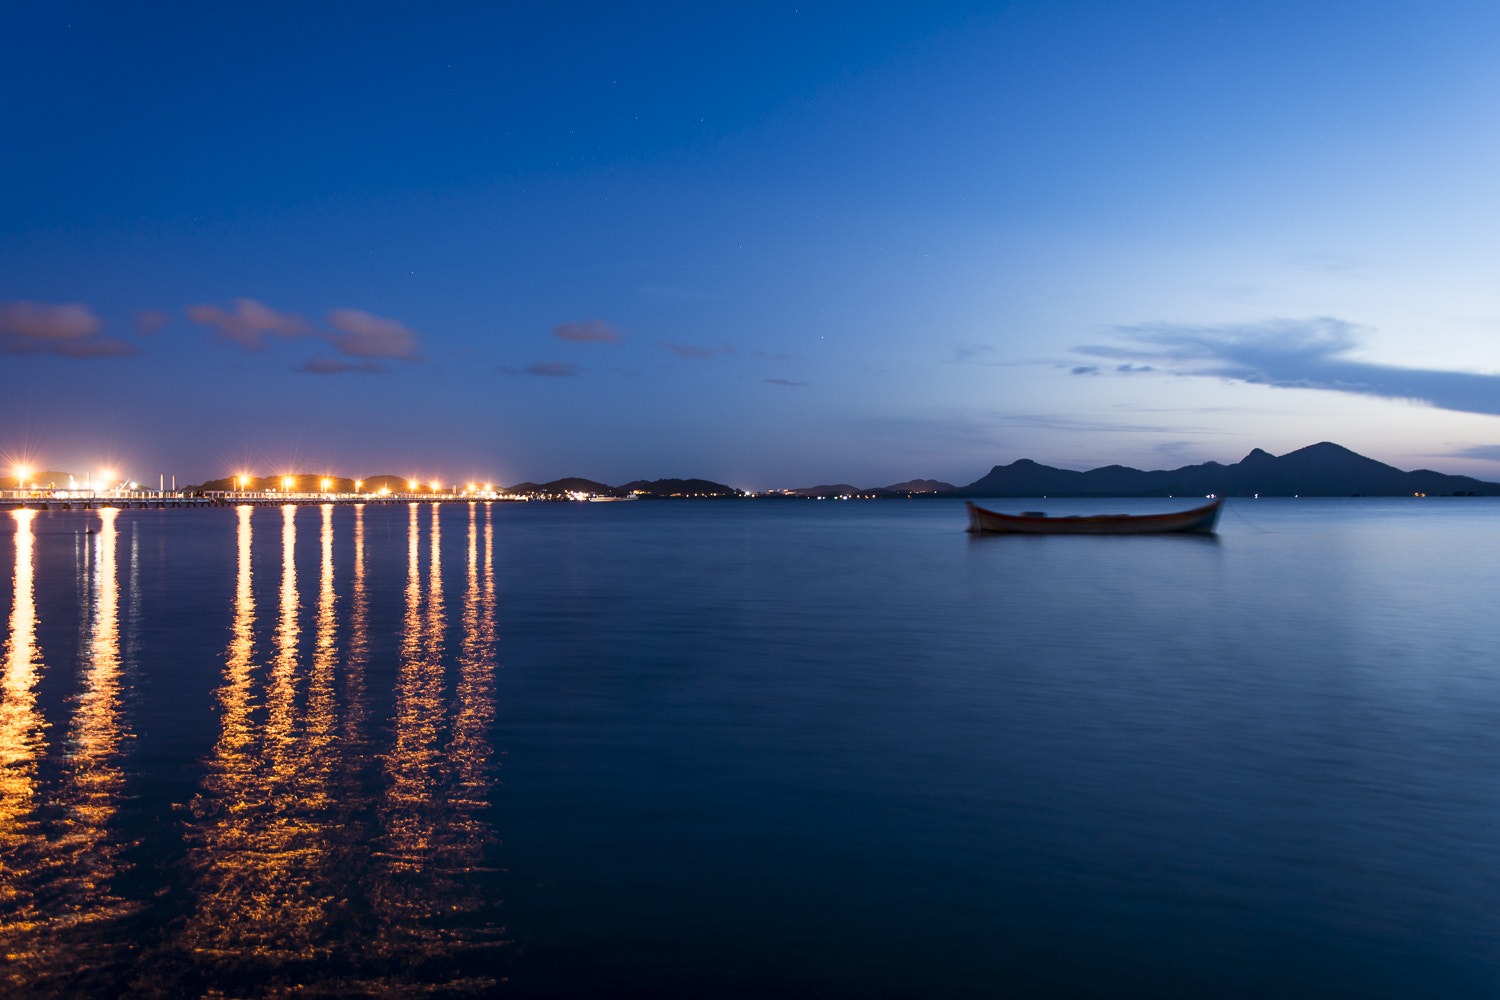
A tripod is the tool that lets you shoot after dark at low ISO and a sensible aperture without camera shake. Choosing one comes down to a few features, and using it well comes down to a short list of habits. This guide covers both so you can decide what to buy and how to set it up.
- Prioritise stability over low weight: a flimsy or overloaded tripod wastes every long exposure.
- Match the head and leg design to how you shoot, not to the longest spec sheet.
- Pair the tripod with a timer or remote, a low ISO and, in some cases, stabilization switched off.
Why does night photography need a tripod at all?
After dark, the usual ways of gathering light all come with a cost. A wide aperture shrinks your depth of field, which is a problem when you want foreground and background both sharp. A high ISO adds noise and eats into the flexibility you have when editing a RAW file. A slow shutter speed solves both problems, but only if the camera stays perfectly still.
That is the job of a tripod. It lets you keep ISO low, pick the aperture your scene needs and stretch the shutter speed as long as the exposure demands. The trade-off is that it only suits scenes where little is moving, so it works well for cityscapes, night landscapes and the sky, and poorly for action.
There are secondary benefits too:
- More precise framing, since the camera stays exactly where you aimed it.
- Reliable results when you bracket exposures or focus.
- A steady base for painting with light.
- Relief for your arms when a long, heavy telephoto lens is mounted.
Keep one exception in mind. A camera with strong in-body stabilization and a very fast lens can sometimes be handheld in early evening light, but once it gets properly dark, the tripod takes over.
What should you look for in a tripod?
Think of a tripod as four separate decisions: legs, head, centre column and feet. Each one affects how steady your camera is in the dark.
Legs: stability first
The most important job of the legs is to keep the camera still. Portability comes second. A very light tripod carrying a heavy camera will wobble in wind, so avoid chasing the lowest weight on the shelf.
- Material: carbon fibre is lighter and just as strong as aluminium, but it costs noticeably more. Aluminium is heavier, not dramatically so, and is a perfectly good choice on a budget.
- Number of leg sections: more sections pack down smaller, but the thin bottom section is less stable. Avoid tripods with more than four sections.
- Locks: clamp locks are quicker to operate but bulkier. Twist locks pack more compactly, though they are slower and a bit more awkward.
Height and the centre column
Look at the height of the tripod at the point where the three legs meet, with the head attached. Extra height gained by raising the centre column is bonus height, and it makes the platform less stable. A good target is a tripod that brings the camera to roughly chest height without the column raised. If you travel often, a shorter and lighter model is a fair compromise, even if it means shooting from a lower angle.
Feet
Feet come in rubber versions for indoor use and spiked versions for outdoor ground. Choose according to where you actually shoot.
Beware of very cheap models
A bargain tripod tends to be unstable, which hurts your images and puts your camera and lens at risk of a fall. Spending hundreds or thousands is unnecessary for most people, but the cheapest options are false economy.
Which tripod head suits night shooting?
The head controls how you aim and lock the camera, and it is a matter of personal workflow. There are three common types.
- Ball head: the camera sits on a ball joint that moves freely when loosened. It is quick to adjust and the most compact, but less precise for small framing changes.
- Pan and tilt head: separate handles control horizontal and vertical movement, giving more accuracy than a ball head at the cost of extra bulk and weight.
- Geared head: geared levers provide small, precise adjustments. It offers the finest control but is bulky, heavy and expensive.
If you spend time fine-tuning compositions in the dark, a pan and tilt or geared head makes that easier. If you prefer speed and a lighter pack, a ball head is the practical pick.
Check the quick release system
Most tripods use a quick release plate that screws onto the camera base. The plate screws onto any camera because the thread is standardised, but a plate will not fit every tripod. If you ever replace one, confirm it matches your tripod’s system. Arca-Swiss style plates work across several brands, while some makers use their own design.
Think about the camera weight
Whatever head you choose, make sure it comfortably supports your camera and heaviest lens. A small, ultra-portable option can work for compact setups with lighter lenses, but a full-size camera with a big lens calls for a sturdier tripod.
How do you set up a tripod for sharp night images?
Owning a good tripod is only half of it. Technique decides whether the exposure comes out sharp. Follow this routine.
- Set the tripod up properly.
- Turn off lens or body stabilization. When the camera is completely still, these systems can introduce small vibrations of their own.
- Use the lowest ISO. Turn off auto ISO to preserve image quality and editing flexibility.
- Choose your aperture. Pick the value that gives the depth of field the scene needs, then let the shutter speed adjust to match.
- Trigger without touching. Use a remote release or the self-timer so pressing the button does not shake the camera.
- Review and adjust. Check the result, then re-shoot with exposure compensation if highlights are too bright.
Watch the surface under you
A tripod is only as steady as the ground beneath it. Wooden jetties, balconies and raised walkways flex when anyone moves, and a long exposure will record that. On such surfaces, stay still yourself while the shutter is open.
Focusing and sky shots
For star fields, focus manually using live view at maximum magnification. Wide apertures leave no margin for focus error. Exposure length matters too: a common guideline, the 500 rule, divides 500 by your focal length to estimate the longest exposure before stars turn into streaks. At 16mm that comes to roughly 31 seconds, while at 24mm it is about 20 seconds.
Know the downsides
Tripods are bulky, take time to set up and can tip if placed carelessly. They are sometimes banned in busy tourist locations or historic buildings, and in crowds they can trip passers-by. Plan for that before you arrive.
Frequently asked questions
Can you shoot night photos without a tripod?
Sometimes, in early evening, if your camera has strong in-body stabilization and your lens is very fast. As light drops further, shutter speeds get too slow to hold steady. For long exposures or sharp results at low ISO, you need a tripod or another firm support.
Is a lighter or a heavier tripod better for night work?
Stability should win. A very light tripod can wobble in wind, especially under a heavy camera and lens. Carbon fibre lowers weight without losing strength, but it costs more, so aluminium is a sensible alternative if you are on a budget.
Should you switch off image stabilization on a tripod?
In most cases, yes. When the camera is not shaking at all, stabilization systems can add small vibrations to the image. Turning them off is part of a clean tripod routine.
How do you avoid shaking the camera when you press the shutter?
Do not press the button directly. Use a remote release or the camera’s built-in self-timer, which fires the shutter a moment after you press and lets the setup settle.
Related reading
- Best Camera Backpacks for Outdoor Photography in 2025
- Best Budget Lenses for Beginner Photographers (2025 Guide)
Sources
- Best Camera Tripod Guide 2026 | Choose the Right Tripod (theschoolofphotography.com, accessed 2026-11-03)
- Night Photography (skyephotoacademy.com, accessed 2026-11-03)
Photo: Long Exposure, by Guilherme Moreira, CC0 (Wikimedia Commons)
