
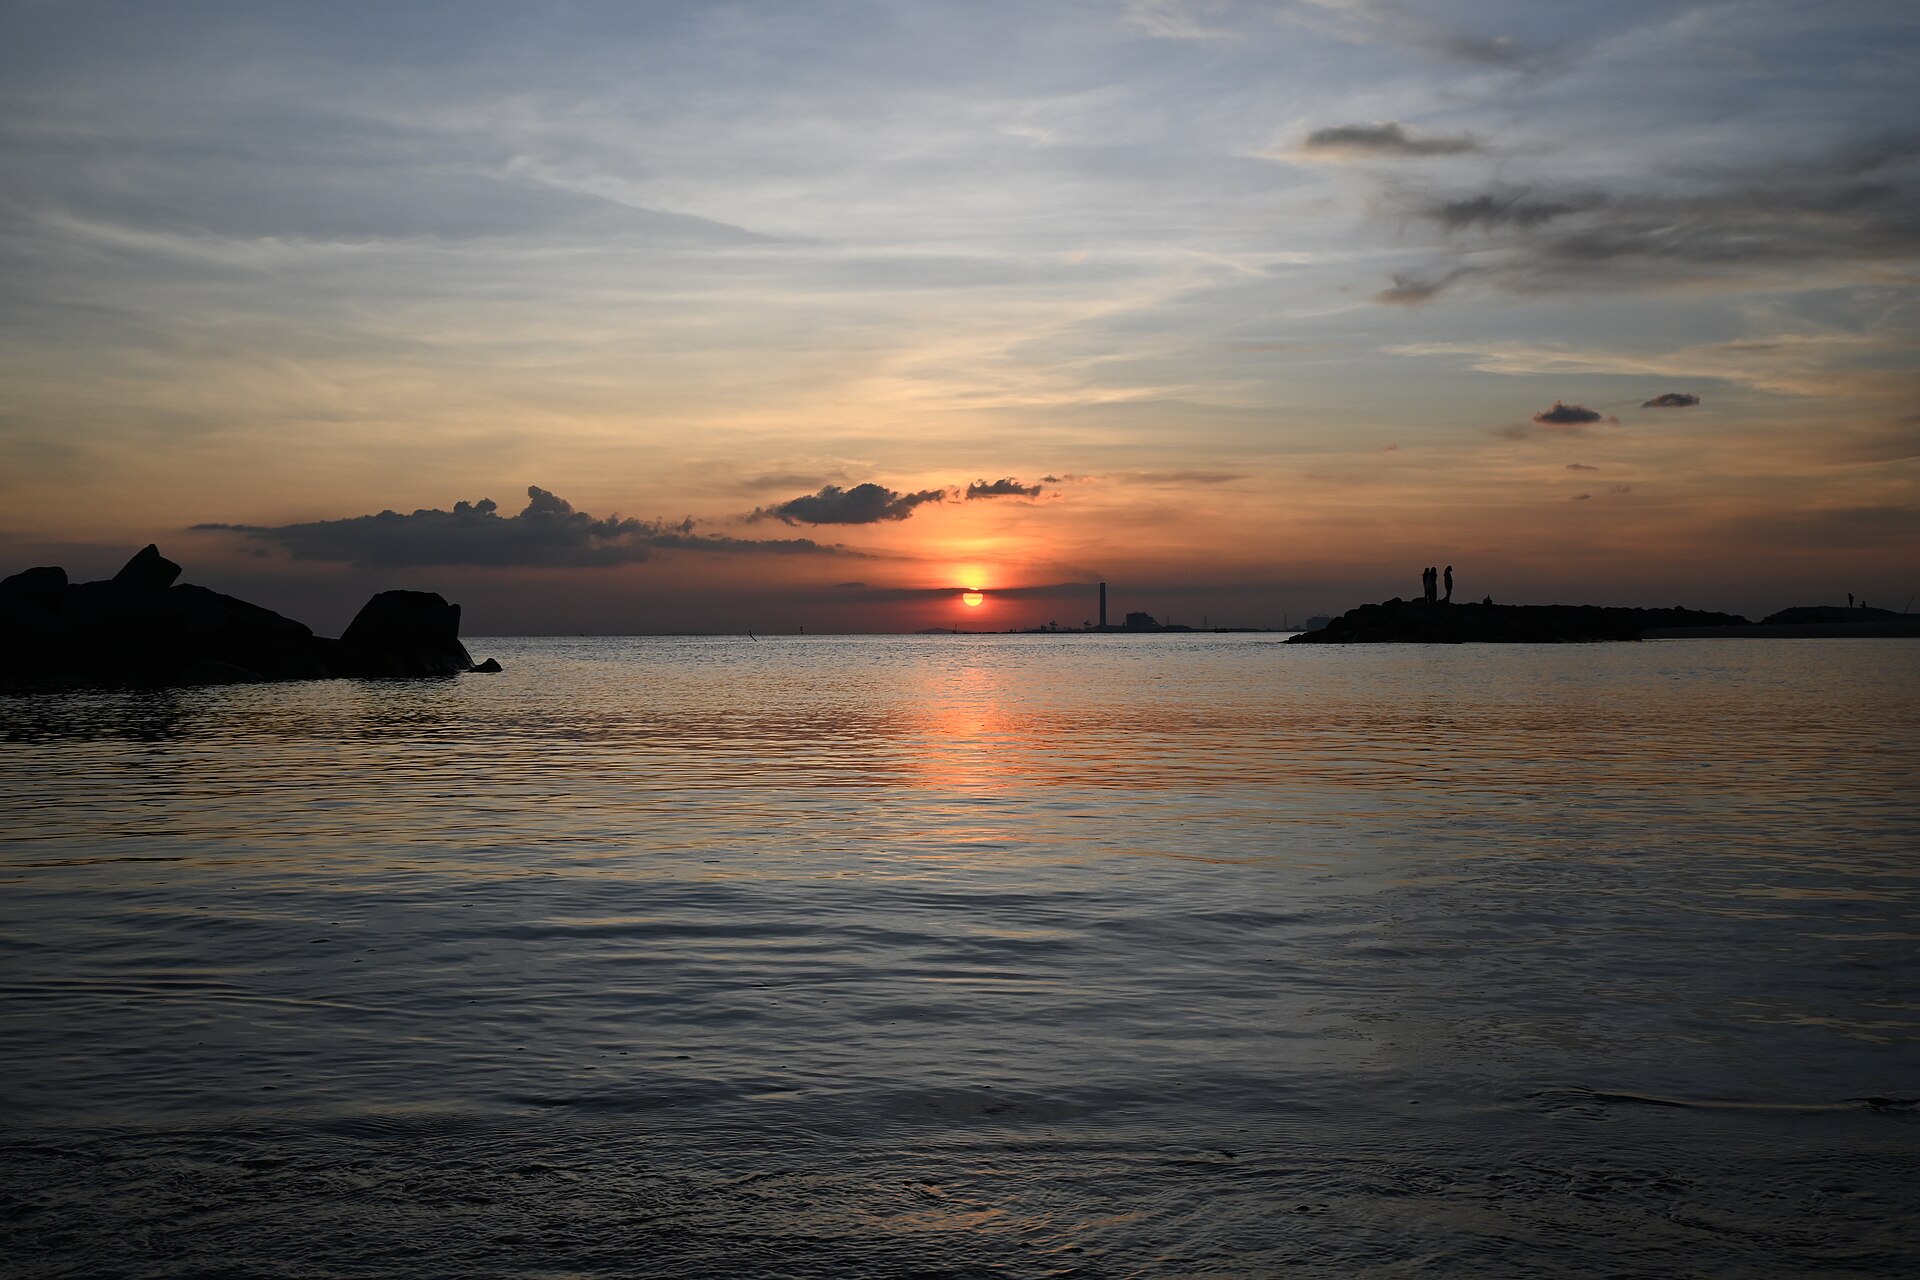
This guide helps you decide what to do about each of those problems before and during the shoot.
- Plan your timing around the whole show, including the minutes after the sun is gone.
- Protect the sky first, then choose a method to rescue the foreground.
- Treat the sky as a backdrop and build the picture around something in front of you.
When should you arrive, and when should you leave?
Timing is the cheapest improvement you can make, because it costs nothing but patience. Arrive early enough to walk the location, test a few compositions and set up the tripod without rushing. Rushed setups lead to rushed settings and sloppy framing, which is exactly what ruins good light.
The more common mistake is leaving too soon. Many photographers pack up the moment the sun drops below the horizon, yet the sky often lights up again roughly 20 minutes later with a colourful glow that some describe as a second sunset. Generally speaking, the colour keeps developing and changing after the sun has gone, so stay put and keep shooting.
Two habits make this easier:
- Scout the location in daylight, or well ahead of the light, so you already know where you will stand.
- Use a sun-position or sunset-time app to decide when to head out, so you are not working against the clock.
The same logic applies at sunrise, where colour in the sky can begin half an hour or more before the sun actually appears. You can use the same preparation habits either way.
How do you set exposure for a sunset?
A sunset is a high-contrast scene: a very bright sun and sky sitting above darker ground. Your camera’s automatic calculation is a useful first look at what it thinks is correct, but it often does not match what your eyes saw. Take one frame in auto, study it, then switch to manual control so the result stays consistent from frame to frame.
The guiding principle is to protect the sky. Check your histogram and highlight warnings rather than trusting the screen brightness.
Which settings matter most?
- ISO: keep it low for clean files, and raise it only when the light forces you to.
- Aperture: a small aperture keeps both foreground and background sharp, which suits landscape-style sunsets.
- Shutter speed: let it balance the exposure, and use a tripod when it becomes slow enough to risk camera shake.
If you want to experiment, shoot the same scene several times on a tripod and change one setting at a time. Comparing results afterwards teaches you more than any rule. Slower shutter speeds will also soften moving clouds and water, while faster ones freeze them, so decide which look you want.
How do you handle the contrast between sky and foreground?
When the sky is correctly exposed, the foreground usually goes dark, because the two need very different exposures. You have three practical ways to deal with this, and the right choice depends on the scene and how much gear you carry.
Option 1: a graduated neutral density filter
This filter darkens the bright sky while leaving the lower part of the frame alone, so one exposure holds detail in both. It works best when the horizon is fairly clean. If it is broken up by buildings or trees, the dark band of the filter can show up on them.
Option 2: exposure bracketing
Shoot several frames at different exposures: one properly exposed, one underexposed and one overexposed, or use your camera’s bracketing feature. Blend them afterwards in editing software, either as a natural-looking merge or a stronger high dynamic range look. Keep the camera locked on a tripod so the frames line up.
Option 3: embrace the silhouette
The simplest solution is to let the foreground go dark on purpose while you expose for the sky and sun. This works best with a single object that has a distinctive shape, such as a bridge, a tree, a building or a person in a clear pose. Cluttered subjects merge into one black mass, so choose something with a clean outline.
What makes a sunset composition work?
A sunset is a good background but rarely a good subject on its own. Pretty colour attracts the eye, yet images built only on the sky tend to read as snapshots. A strong foreground gives the viewer somewhere to enter the frame and a reason to stay.
Build around the foreground
Look for rocks, logs, grasses, water patterns or textured ground. Low, directional light rakes across these surfaces and creates highlights and shadows that add depth. A wide-angle lens lets you place the object close to the camera and still include the sky. Stop the aperture down so the foreground stays sharp, and focus on that foreground element.
Place the horizon deliberately
Avoid putting the horizon in the exact centre every time. Moving it to the upper or lower third gives the picture a clearer emphasis: lower the horizon to feature a dramatic sky, raise it to feature the land or water.
Choose where the sun sits
- Sun in the frame or behind the subject: best for silhouettes and strong contrast.
- Sun to the side: light rakes across the scene and emphasises texture.
- Sun behind you: soft, even, warm light with easier exposure, though your own long shadow can creep into the frame. Crouch and lower the tripod to shorten it.
Be selective with filters. A polarizer can deepen blue sky and cut haze when you aim roughly 90 degrees from the sun, but opinions differ on whether it helps at sunset itself, so test it rather than assuming.
Should you fix white balance in camera or in editing?
If you shoot RAW, white balance can be adjusted freely later, so the in-camera choice mainly affects how the preview looks while you shoot. Choosing a warm setting in the field gives you a more faithful preview of the mood you are after, while automatic settings may cool the scene and mute the glow.
When you edit, resist pushing the whole image warmer just to make the sky look richer. A more convincing approach is to aim for a neutral balance first, then keep shadows slightly cool and highlights warm. Move the temperature and tint sliders slowly and stop when the image feels natural.
For selective control, use a sky mask to add contrast or saturation only to the sky, leaving the foreground untouched. That keeps the edit believable and avoids the over-processed look that makes sunset photos feel fake.
Frequently asked questions
How long should I stay after the sun goes down?
Stay at least 20 minutes or so. The sky often lights up again after the sun dips below the horizon, producing a colourful glow that can look like a second sunset.
Should I underexpose or overexpose a sunset?
Lean toward slight underexposure. It tends to bring out richer colour and better definition, while overexposed skies lose detail that you cannot bring back later.
Do I need a graduated ND filter?
Not strictly. You can bracket several exposures and blend them, or turn the foreground into a silhouette. A graduated filter is worth having if you want one clean exposure with a darkened sky.
Where should the horizon go in the frame?
Usually not dead centre. Placing it in the top or bottom third gives the image a clearer focus, depending on whether the sky or the land is the star.
Related reading
- Long Exposure Photography: A Beginner’s Guide
- Backlighting in Photography: How to Use It Without Blowing Out Your Shot
Sources
- 5 Tips to Take Better Sunset Photos – and Why Not … (digital-photography-school.com, accessed 2026-11-09)
- 6 Sunset Photography Tips: NYIP Photo Article (nyip.edu, accessed 2026-11-09)
- The Secret to Stunning Sunset Photography: 4 Techniques (on1.com, accessed 2026-11-09)
Photo: DSC 7759 Golden sunset over calm sea silhouetted rocks and distant shoreline reflecting warm light, by PattayaPatrol, CC BY-SA 4.0 (Wikimedia Commons)
