
Most failed HDR images are lost in the field, not in the software. A clean merge starts with a stable camera, a bracket that covers the whole scene, and a scene that actually needs the technique. This guide helps you decide when to bracket and how to shoot and merge so the result looks natural.
- HDR means blending several exposures of one scene to keep detail in both shadows and highlights.
- A tripod, low ISO and a still scene do more for your merge than any software setting.
- Shoot RAW and merge with restraint to avoid the over-processed look.
Which scenes are worth bracketing for HDR?
HDR solves one specific problem: a camera cannot record the full range from deepest shadow to brightest highlight in a single frame. If the scene fits comfortably inside that range, bracketing adds work and risk without adding much.
Scenes that tend to benefit:
- Landscapes with a bright sky above a dark foreground.
- Architecture where bright exteriors sit next to darker areas.
- Interiors where windows show a much brighter view outside than the room itself.
Scenes that tend to struggle: anything with a lot of movement. Moving subjects can produce ghosting, because the frames no longer line up. Before you commit to a bracket, check your histogram on a normal exposure. If clipping shows up at one or both ends, bracketing is justified. If not, a single well-exposed RAW file is often the better choice.
How do you shoot a bracket that will merge properly?
Think of the bracket as insurance: you need frames that together cover everything from the darkest shadows to the brightest highlights. Missing either end means the software has nothing to recover.
Camera setup
- Shoot in RAW to keep the most detail available for the merge.
- Use manual or aperture priority so depth of field stays the same across frames.
- Keep ISO low to limit noise.
- Mount the camera on a tripod so every frame lines up.
Setting the bracket
Start from a base exposure for the scene, then decide how many stops above and below it you need. A common spread runs from about -2 to +2 EV, and very contrasty scenes may call for more. Use your camera’s auto-exposure bracketing if it has it, so the camera varies exposure for you without you touching the dials between frames. Without that function, change the shutter speed or exposure compensation by hand and keep everything else fixed.
Avoiding shake
Trigger the shutter with a remote release or the self-timer so you do not nudge the camera. Check your camera’s menu for options that reduce vibration, such as an electronic shutter or mirror lockup, if your model offers them.
Handling movement
Varying the shutter speed is how you change exposure, so the darkest frame is the fastest and the brightest is the slowest. Slow frames can blur leaves or water. If movement matters in the frame, take the bracket in a lull, or shoot a few extra sets and keep the cleanest.
How should you merge brackets without an over-processed look?
Most HDR programs follow the same steps: they align the frames, blend the best-exposed parts of each, and then apply tone mapping. Tone mapping compresses the wide range of the combined image so it can be viewed on an ordinary screen while keeping detail in shadows and highlights. This last step is where images go wrong, because pushing it too far produces an unnatural look.
In Lightroom
Turn on auto-alignment if there was any slight movement between frames, and use deghosting only when moving elements are visible. Once the merged file appears, treat it like any other RAW-style image: adjust exposure, lift shadows and pull back highlights in modest amounts.
In Photomatix and similar tools
These tools give you presets and stronger tone-mapping controls. Start from a gentle preset and move sliders in small increments. Watch for glowing edges around high-contrast boundaries, flat or gray-looking skies and unnaturally saturated color. When these appear, you have gone too far, so back off.
A simple checklist
- Align frames, and enable ghost removal only when needed.
- Keep tone-mapping strength moderate.
- Compare against your middle exposure to check the result still looks like the scene you remember.
- Finish with small adjustments rather than heavy filters.
Do you really need RAW files for HDR?
Yes, whenever you can. A RAW file keeps more tonal information than a JPEG, which gives the merge algorithm more to work with and leaves more room to correct exposure and color afterward. Some HDR tools can also work with JPEGs, so a JPEG bracket is not useless, but it leaves you less margin for error in difficult light.
RAW also helps with a related option: a single RAW file can be edited to resemble an HDR look by lifting shadows and protecting highlights. That approach avoids alignment and ghosting problems entirely. It will not recover detail that was never recorded, though, so for scenes with truly extreme contrast, a real bracket remains the stronger choice.
Whichever route you take, aim for a natural result: images that most closely resemble what your eye saw tend to hold up best over time.
Frequently asked questions
How many photos do you need for an HDR image?
A bracket typically uses several frames at different exposures, such as one underexposed, one properly exposed and one overexposed. Add more frames when the scene contrast is very high, so your shots cover the darkest shadows through the brightest highlights.
Can you shoot HDR brackets handheld?
It is possible, but a tripod is strongly recommended because the frames need to line up. Handheld brackets raise the risk of misalignment, which merging software has to correct and cannot always fix cleanly.
Why does my HDR merge show ghosting?
Ghosting appears when subjects move between frames, so the images no longer match. Shoot during calmer moments, keep the camera locked down, and use your software’s deghosting option only on the areas where movement shows.
How do you avoid an over-processed HDR look?
Keep tone mapping moderate, and compare the result with your middle exposure. If you see glowing edges or unnatural color, reduce the strength of the effect and make smaller adjustments afterward.
Related reading
- Light and Shadow in Photography: Learn to See Like an Artist
- Long Exposure Photography: A Beginner’s Guide
Sources
- How to shoot images intended for HDR (glamour-photographymagazine.com, accessed 2026-11-14)
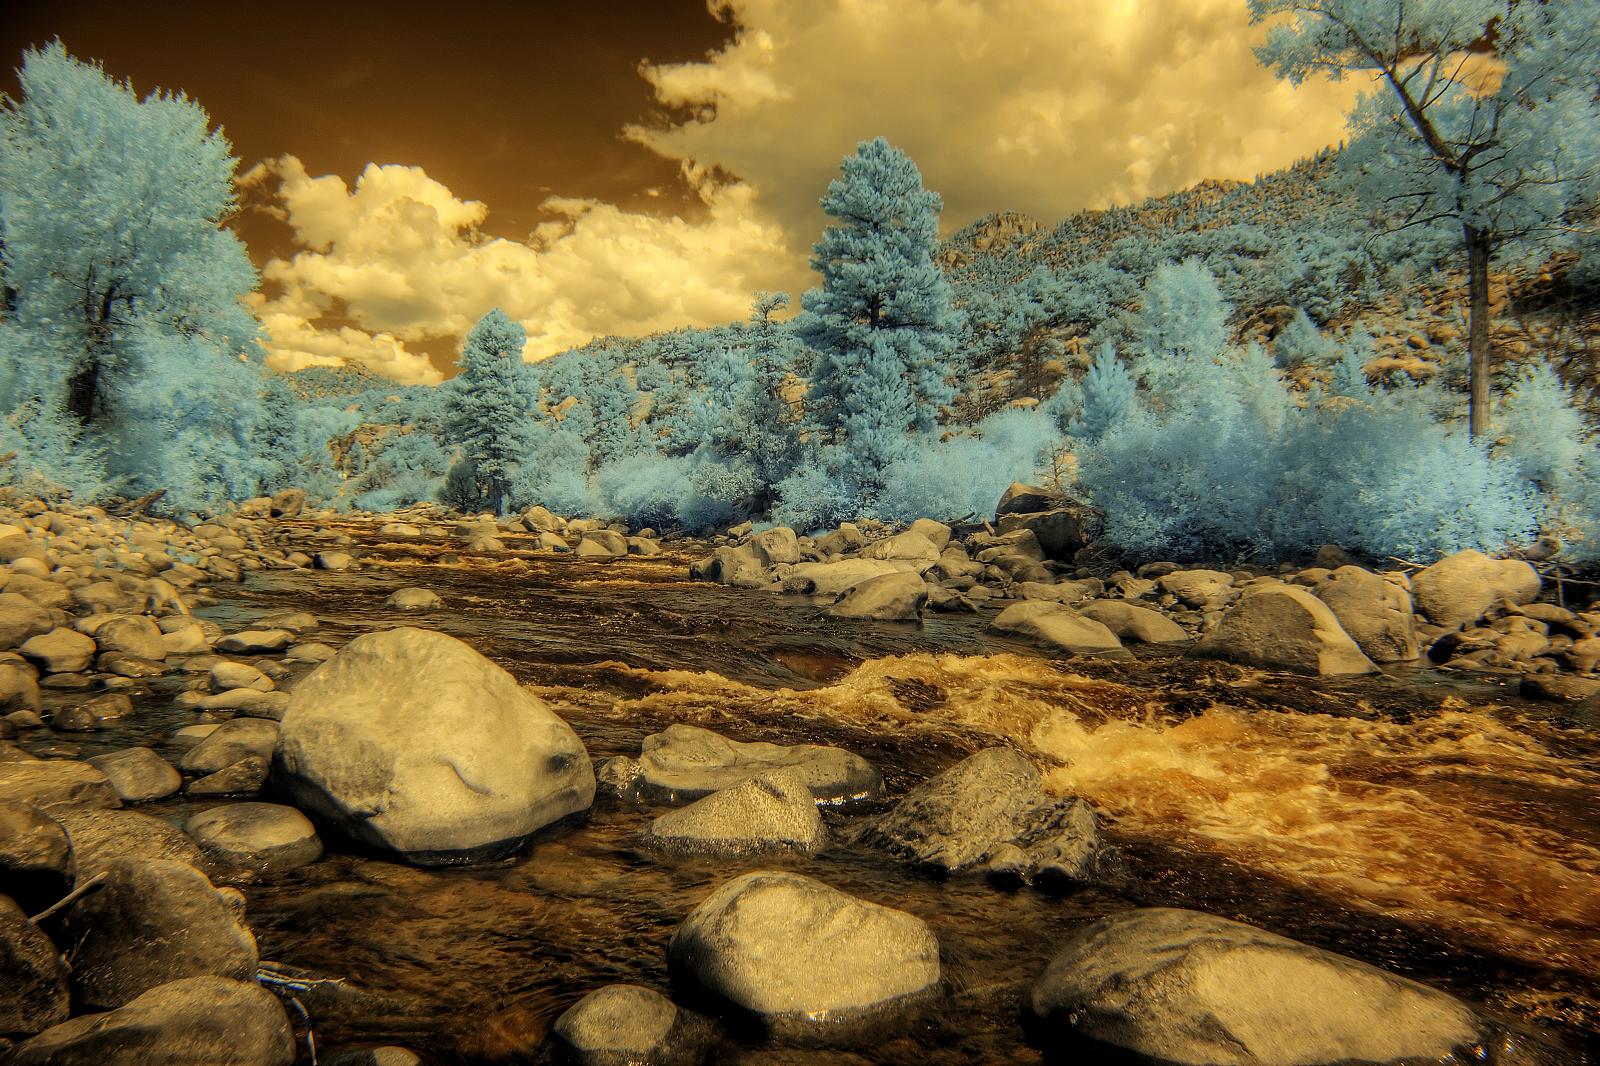
Photo: Infrared HDR Buena Vista Colorado (2815781504), by David from Colorado Springs, United States, CC BY 2.0 (Wikimedia Commons)
